I remembered. Into the fridge every two turns. Unfortunately, because I followed the recipe (now edited) in my previous attempt, I screwed up the ratios and had to kinda wing it. I baked at 180°C, which seemed pretty good.
Things to research for next time(s):
Do I need a stronger flour? Weaker flour?
Stronger is easy – I just add some gluten flour into the dough. I will try that first.
Should the dough be less hydrated? More hydrated?
Should I try an even slightly cooler oven? Or hotter?
I failed. Again.
Which, I guess, is to be expected, because wienerbröd are notoriously difficult to do well. I also didn’t do the FIRST thing I said I was going to do differently the last time, which was to chill the dough between turns.
I do think, however, I have pretty good dough ratios. 1 egg, 200 100 ml milk, 240 g flour, 20 g sugar, 1 pinch of salt. 250g butter for rolling into the dough.
Don’t let me forget to chill the dough next time.
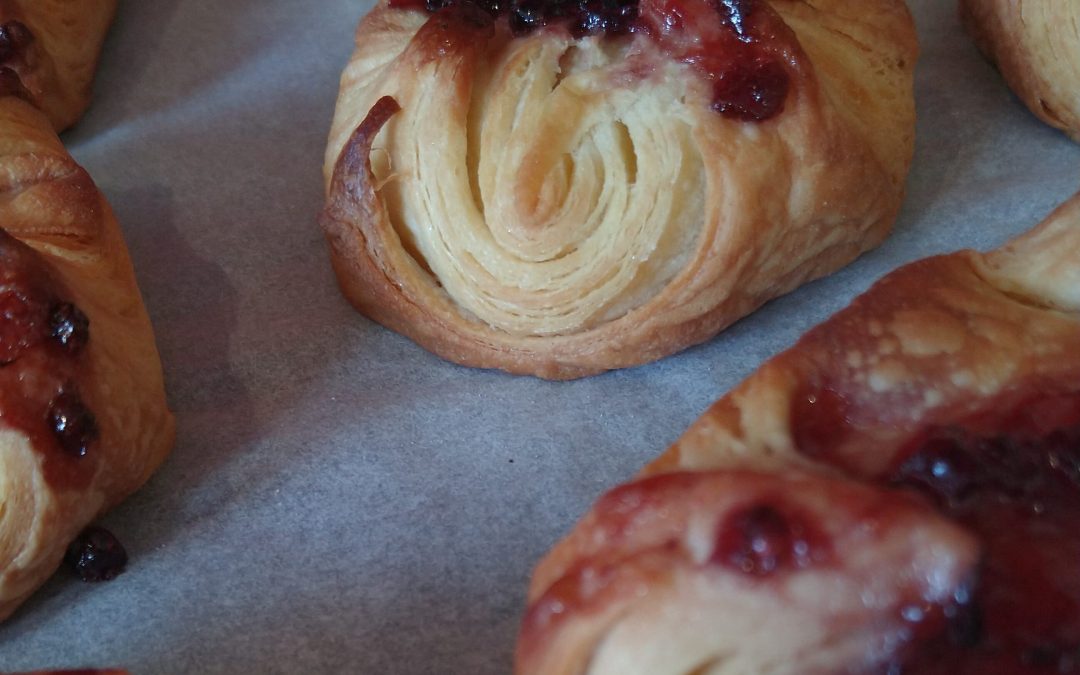
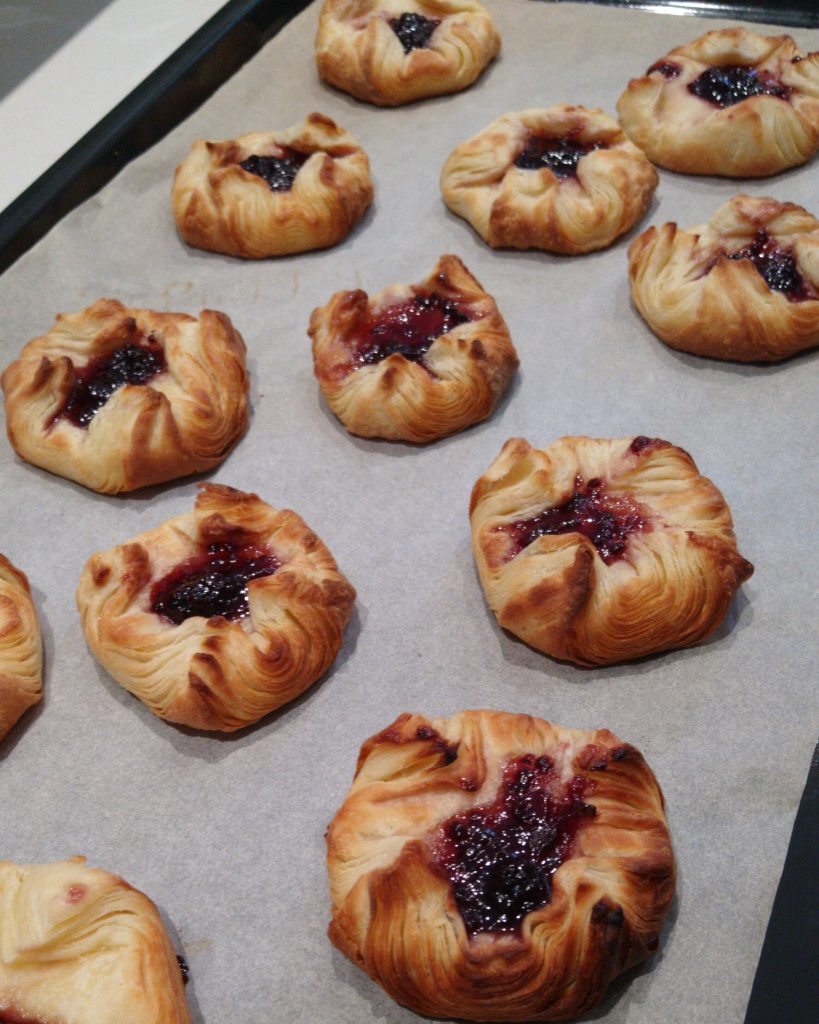
I really want to learn how to make a good Danish. Or even a great Danish. I’ve tried twice so far and while I’ve ended up with good looking and delicious tasting baked goods, they aren’t really Danishes. They’re bready and that delicious crackly crispyness. I plan on documenting my failures, and the changes I want to make, and hopefully the final success of a good (or great) Danish.
Attempt #1
I, foolishly, didn’t write down the ratios I used for Attempt #1. But I think it’s safe to say that I didn’t use enough sugar in the dough. I think it was roughly 500g flour, 2 eggs, 200ml milk, 50ml of sugar, and ~400g butter. 225°C oven.
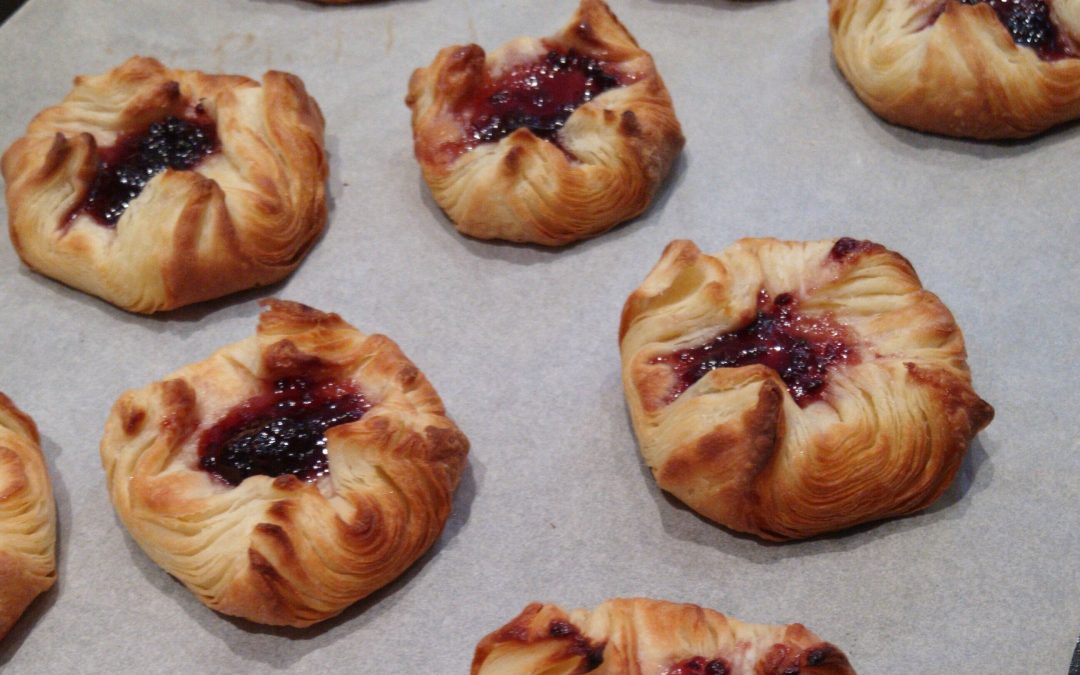
Attempt #2 was better in flavour, because of increased level of sugar in the dough, but I didn’t bake them for long enough, I think. They’re still doughy.
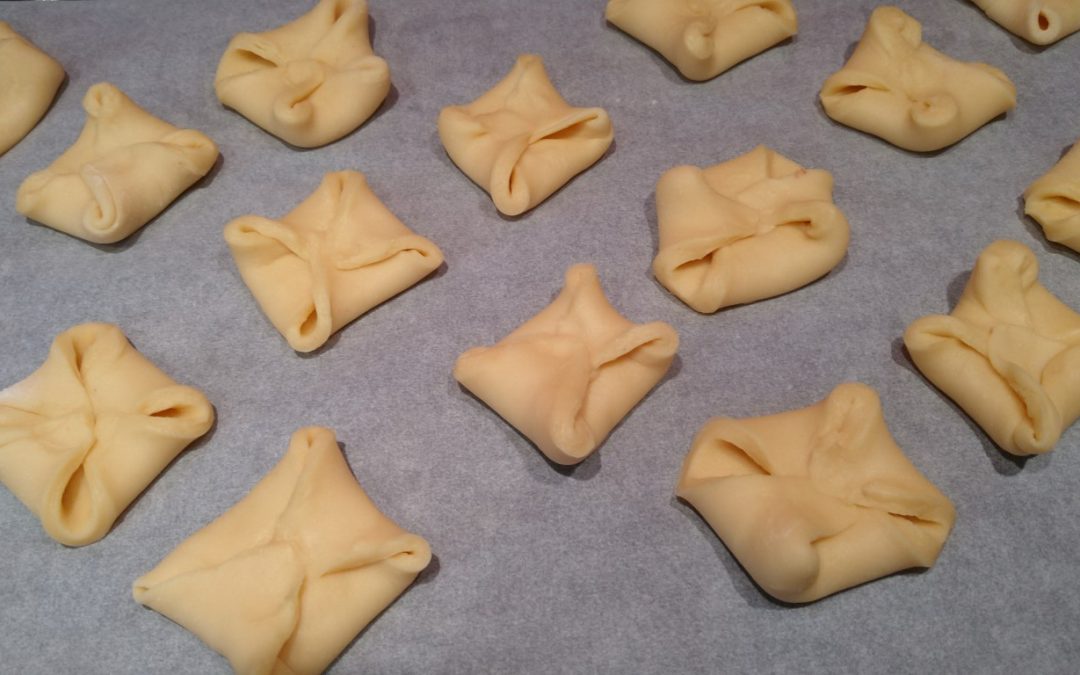
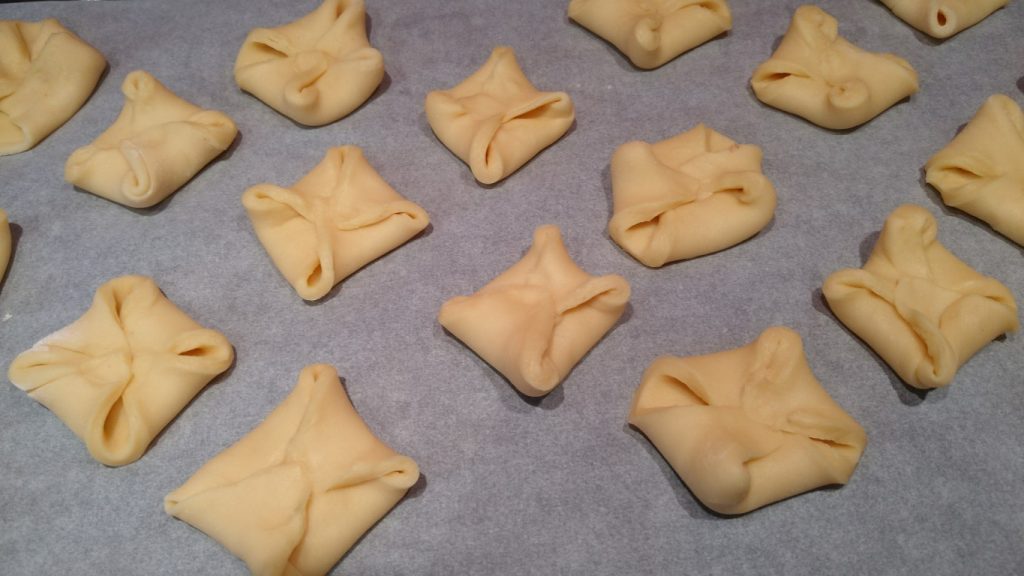
Attempt #2
The lamination is still good, but because of the way that I shaped them, it doesn’t show up in the same way as in Attempt #1. This time I used:
480g flour, 2 eggs (didn’t weigh them), 200ml milk and ~400g butter. I told myself that I was going to do more turns with the dough this time than I did in Attempt #1, but because of something I saw on YouTube, I stopped at 6. 225°C oven, again, but I didn’t leave them in for long enough.
I think I’ve been rushing the dough making process, and not chilling the dough like I should.
So for Attempt #3, I will do the following:
Chill the dough for half an hour every two turns.
Record the ingredients more meticulously
Try 8 turns, because I don’t think my initial layering is perfect enough that 6 turns is enough
I think an important part about getting tasty baguettes is to shape them correctly, and letting them rest for a long time before gently putting them in the oven. There’s a brief video on the initial folding below.
For this recipe, I aim for 72% hydration. Use 720 ml of water for every kilo of flour.
So, start with 333 g of flour, 240 mL of water, a couple of pinches of salt, and a teaspoon or so of dry yeast. Combine it all and work it into a nice dough. It’ll seem wet initially, but stick with it and wait for it to all come together. Adding flour now will mess up the hydration level and you’ll end up with denser bread. Return the dough to a bowl, put come cling film over it, and stick it in the fridge for 12-24 hours.
Dice up the dough into 16 or so bits (it doesn’t really matter). Make another 72% hydration dough, this time with 667 g of flour, 480 mL of water, 3 or 4 pinches of salt, and a teaspoon of dry yeast, and combine in the 16 bits of yesterday’s dough. Work this dough until you have a really smooth dough that you can successfully do the window-pane test. I’ve been doing about 10 minutes in the stand-mixer.
Put the dough in a bowl, cover it with some cling, and put it back in the fridge for another 18-24 hours. Feel free to check in on it, and punching it down a bit if it’s getting a bit big.
Divide the dough into 6 (I did 8 recently and it worked, too) bits, and make them into nice round shapes. Let them rest for a few minutes to let the gluten relax – it makes the next stage easier.
Now for the tricky descriptions. Grab one of the balls of dough and stretch it sideways, gently. Enough so you can lay the stretched bits back on top of the lump in the middle. Then roll it all forward, half way. Press down on the bit of dough that’s yet to be rolled onto, and roll it all the way. Then flatten the bit furthest away from you again, and roll it all together. Repeat for a third time, and set aside and do the remaining dough balls.
Shaping the baguettes
Start with the first bit of dough again, which should now be quite cylindrical. Roll it out with your hands to make the classic baguette shape. Now you can use some flour on the bench, because you won’t be incorporating it into the dough very much.
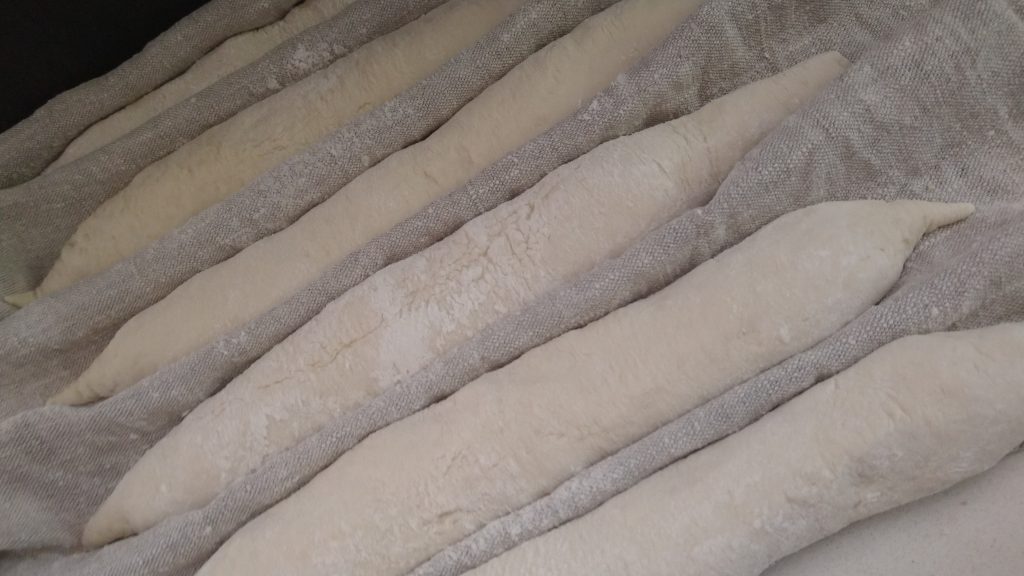
Place the baguette on a linen tea-towel that you’ve coated lightly with flour, and bring the teatowel up around it, so the next baguette you place in there will be supporting the previous, but they won’t touch directly. Let them rise here for 90 minutes or so.
Baguettes, resting in a linen tea towel (or couche)
Heat your oven up as hot as it can get, with a griddle-pan in the bottom (this is for adding boiling water, so needs to be reasonably deep, and heat tolerant).
Transfer the breads onto a baking sheet with some baking paper on it very carefully. If you upset them now, you’ll lose all the gas that’s inside that makes them fluff right up. Carefully slash the breads diagonally with reasonably deep cuts. (If you’ve coated them liberally with flour before resting and slashing, they will have gorgeous contrast between the cut and not-cut bits.
Boil a kettle of water.
Put the baking sheets in the oven very carefully, and pour the boiling water into the griddle pan which will bubble and steam. Quickly close the oven door, trapping the heat in the oven, and turn the oven down to 225°C. The moisture in the air in the oven will let the breads rise before a crust forms, which lets them rise more freely.
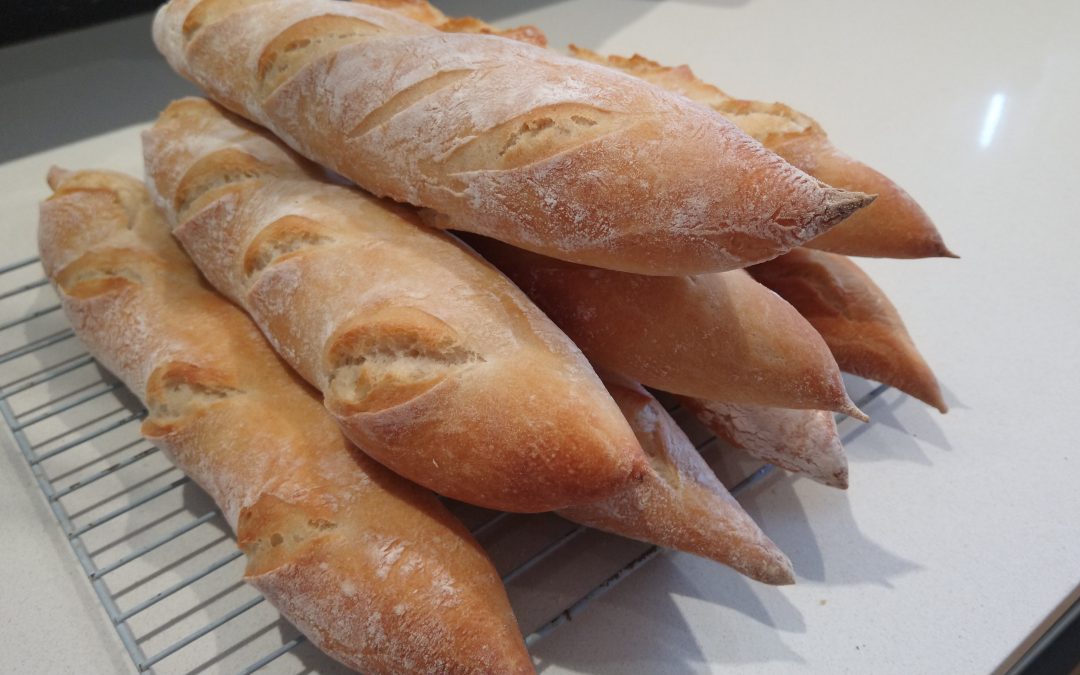
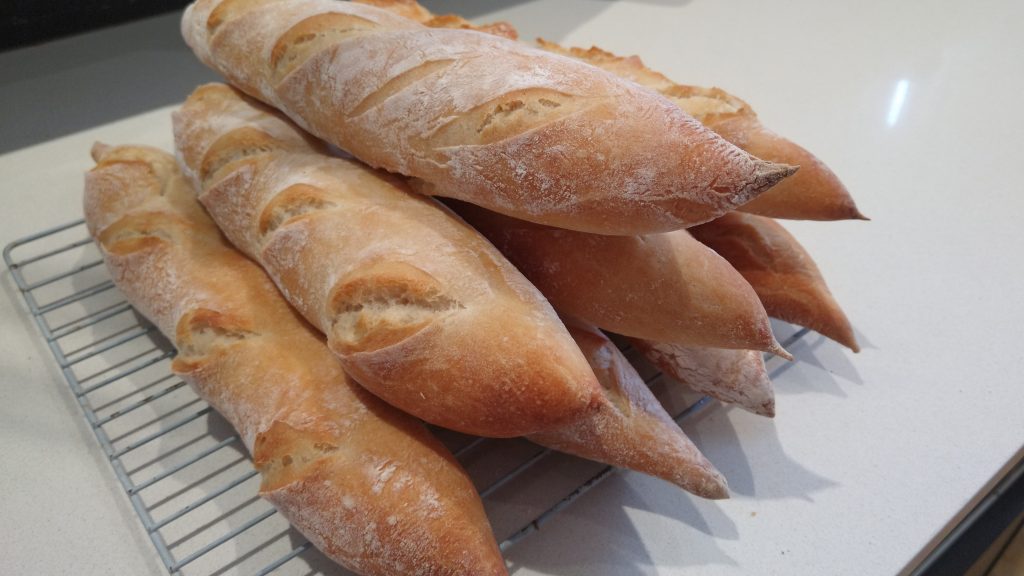
Bake them until they’re golden brown and delicious looking.
Take them out of the oven and listen for that delicious crackling as they cool.
1.1kg plain flour (split 700g and 400g)
770ml luke warm water (split 700ml and 70ml)
2g dry yeast
pinch of salt
20g oil
Method
Roughly combine 700g flour and 700ml water in a bowl with a spoon, and set aside for at least 30 minutes (an hour is better).
Activate 2g of yeast in 70ml of water.
Start the stand mixer, add the salt and the yeast and water mixture, and slowly add remaining flour bit by bit until all flour is added – this process should take about 15 minutes.
Let rise for a long time – a day (from morning to evening) is bare minimum. 24 hours is better.
It’ll be a very wet dough, but it’s not unmanageable. It shouldn’t be too springy when you’re rolling it out.
Bake it hot (really hot), on a hot stone, or ideally in a wood fired oven.