I’ve been meaning to building a medium format scanner for a while now. I had a dodgily cobbled together one that was difficult to use, and because things didn’t quite line up, the backlighting was quite uneven. I woke up with the solution just the other day, went to my local hardware store to pick up the few things (60, I think) that I’d need. Here’s what I bought, enough to build a ~290 mm x ~290 mm scanner (which has a useable area, depending on your lens (I’ll get to that later), big enough for a 4″ x 5″ negative (but probably an 8″ x 10″, too):
1 x sheet of 600 mm x 1,200 mm 12 mm plywood
4 x 1,200 mm long M10 threaded rods
40 x M10 flanged nuts (or normal nuts and washers, doesn’t matter)
Some wood-screws (I ended up needing 9 – just get a box)
White plastic chopping board, at least 260 mm x 260 mm
2 x 5/16″ coarse threaded bolts (you’ll probably need to cut them to get the right length)
A pane of glass (go to an op-shop and buy some old frames for a couple of bucks each)
Wood glue
The tools I used:
Tablesaw
Jigsaw
Drill-press
Drill
Various drill-bits
90° square
Angle-grinder (optional – I used it to fix an issue I created for myself)
Measuring tape
Spirit-level
Using the tablesaw, cut the plywood sheets into squares as big as you can/want/need. You need 3 at the very least, depending on a few things. I ended up using 5, but I will, down the track, replace one of them with a larger piece of chopping-board without a plywood frame.
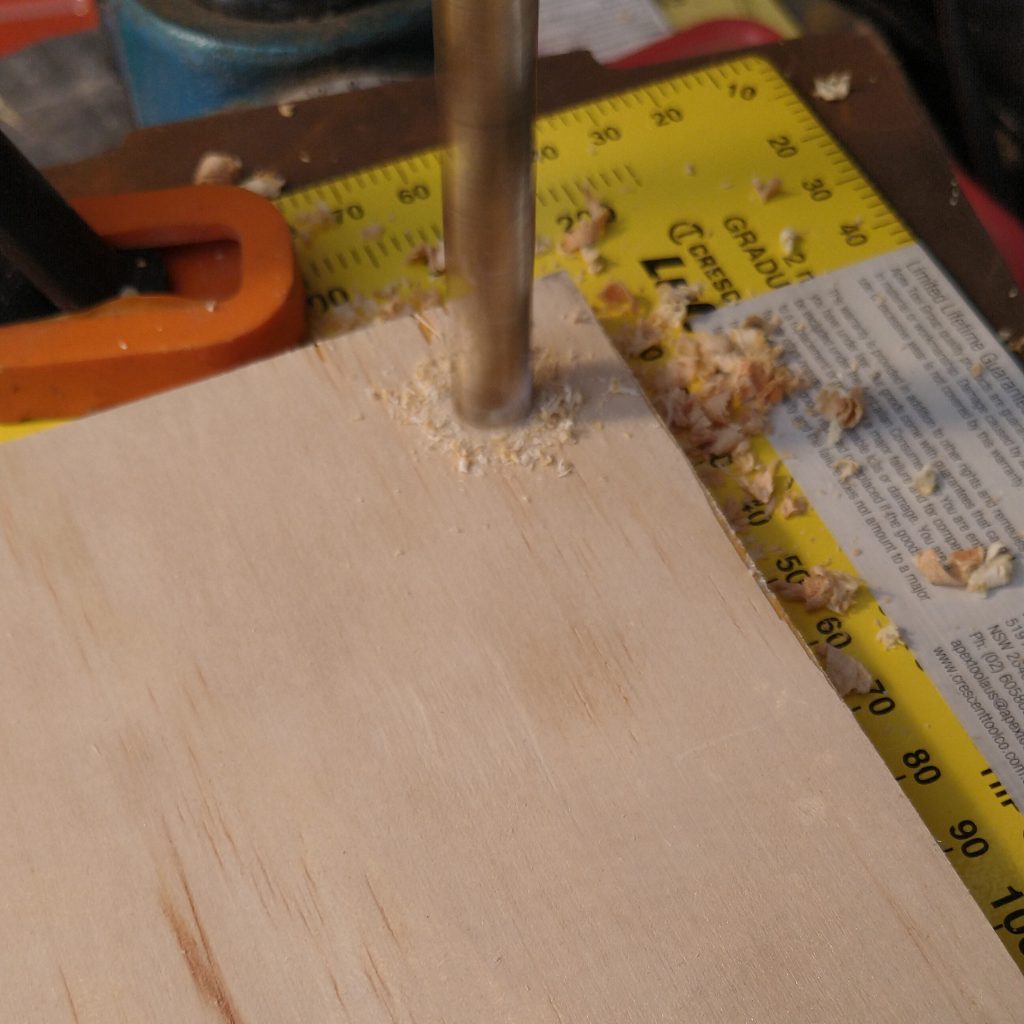
Drill a 10mm hole in each corner of the squares. Exactly where you choose in the corner doesn’t matter too much, but make sure you’re consistent. I used a 90° angle clamped to my drill-press to act as a jig.
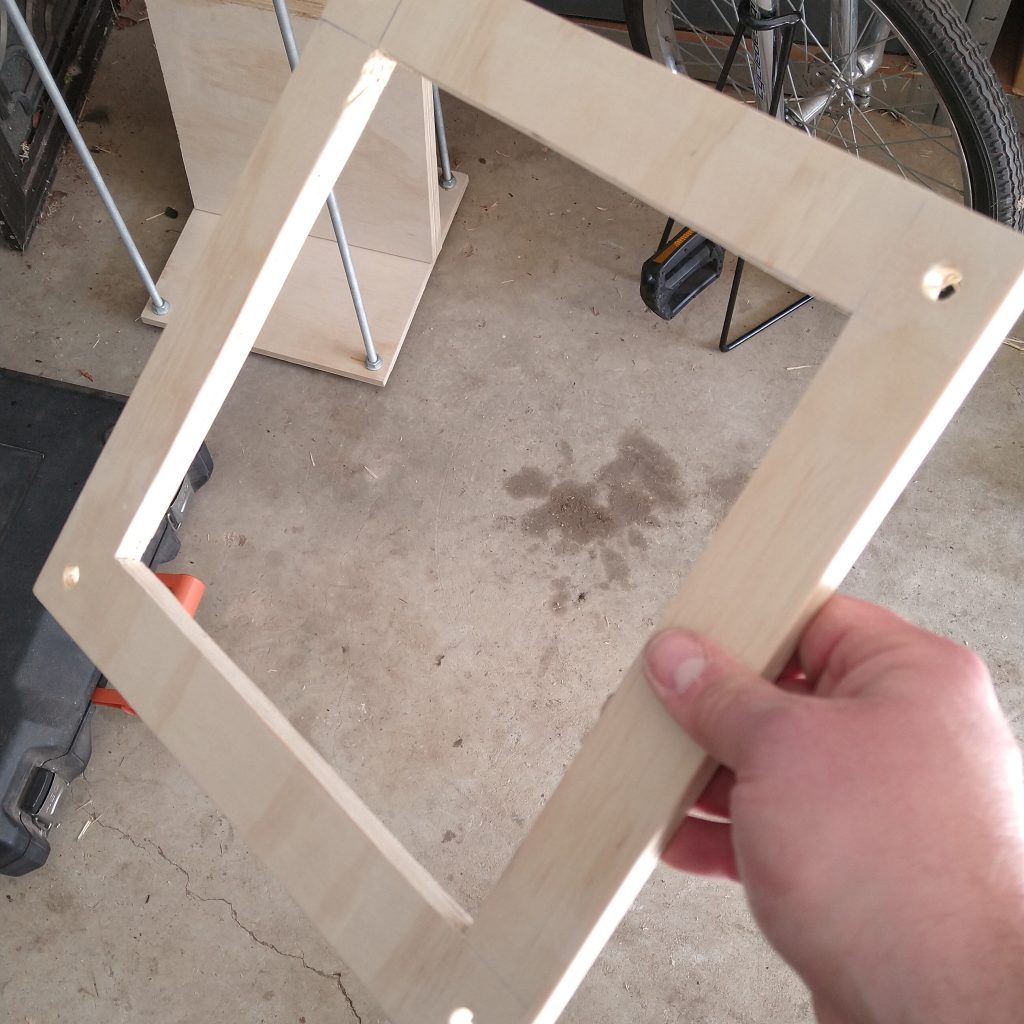
Measure roughly the distance between edge and centre of the drill-hole and double it and draw a square here, to cut out with the jigsaw. Drill corner holes and cut in a straight-ish line between them.
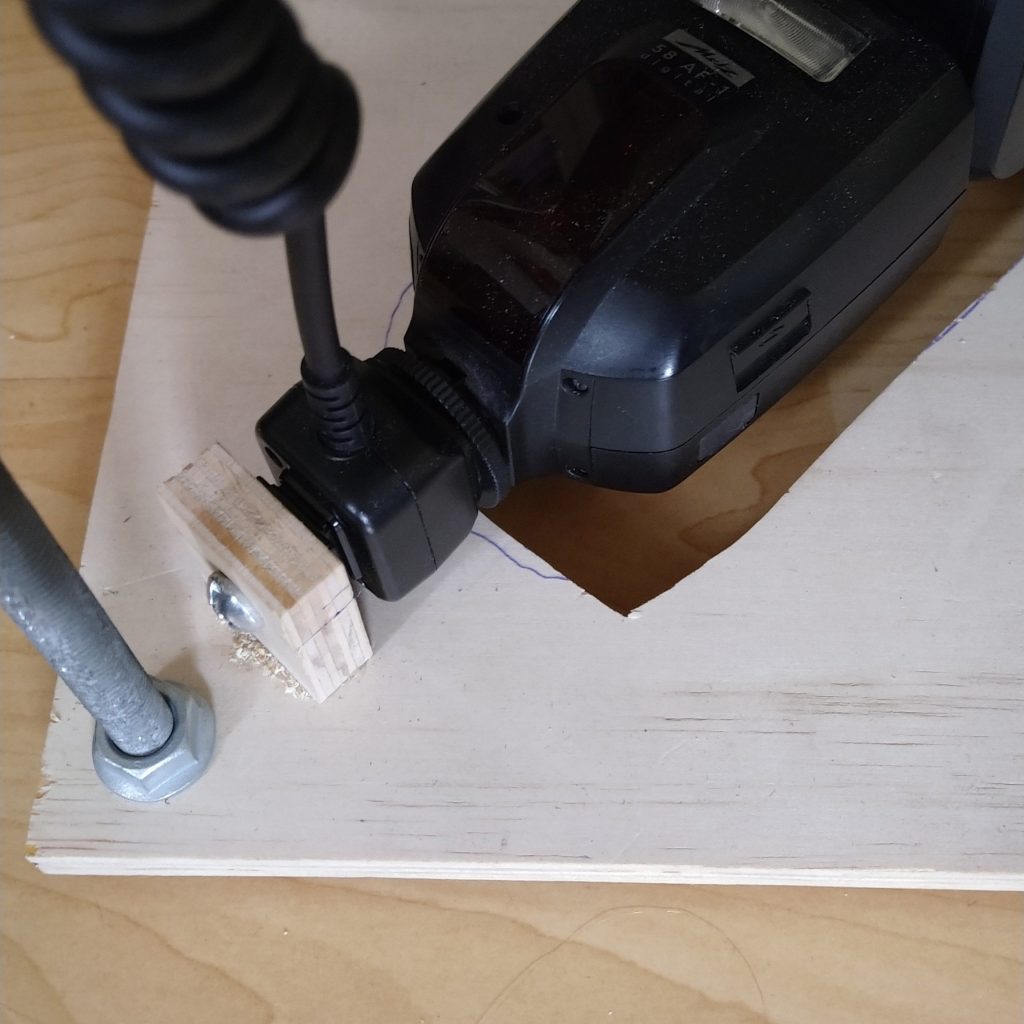
Measure the distance from the bottom of the remote flash-shoe to the centre of the flash head. Measure the distance from the centre of the lens on the camera to the bottom of the camera body. My flash was taller than half of the rectangle, so it had to be mounted on a 45° angle.
Place your flash in roughly the right spot on one of the square boards and trace around it with a pencil. Cut this section out, leaving a gap so you can get to the underside of the flash and pop the flash off to easily adjust settings and the like. Glue and screw a small piece of plywood the right distance from the centre of the board. Drill a 6mm hole in it, and mount the remote flash shoe here with a 5/16″ screw cut to the right length.
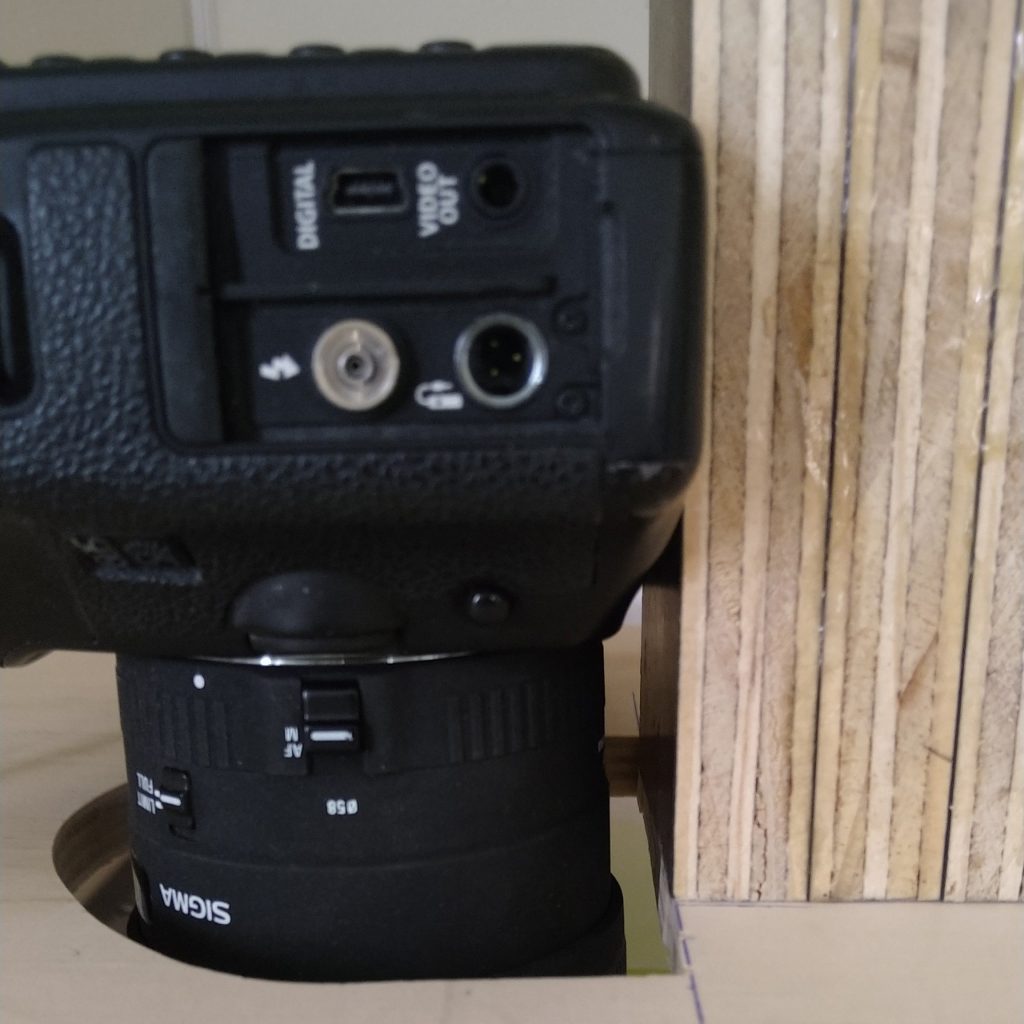
Mark the centre of another square board and mark the distance from the centre of the lens to underside of camera. Cut a hole large enough for the lens to easily fit through. With some off-cuts of ply glue and clamp a decent chunk of them together to give the camera a strong platform to be screwed to. Once the glue has dried, drill a hole in a suitable location and attach to board lining it up with the base-of-camera line. (I’ve just noticed my camera isn’t quite square…will have to fix that).
Cut a hole a bit smaller than the size of your chopping board/diffuser for the and screw the diffuser to it. My next step will to find a chopping board large enough to not need a wooden frame around it.
There’s going to be a lot of turning of nuts coming up. If you have a soft wheel you can attach to a drill, this will make life a lot easier. See my method here: https://www.instagram.com/p/CDXoiYVjuhv/
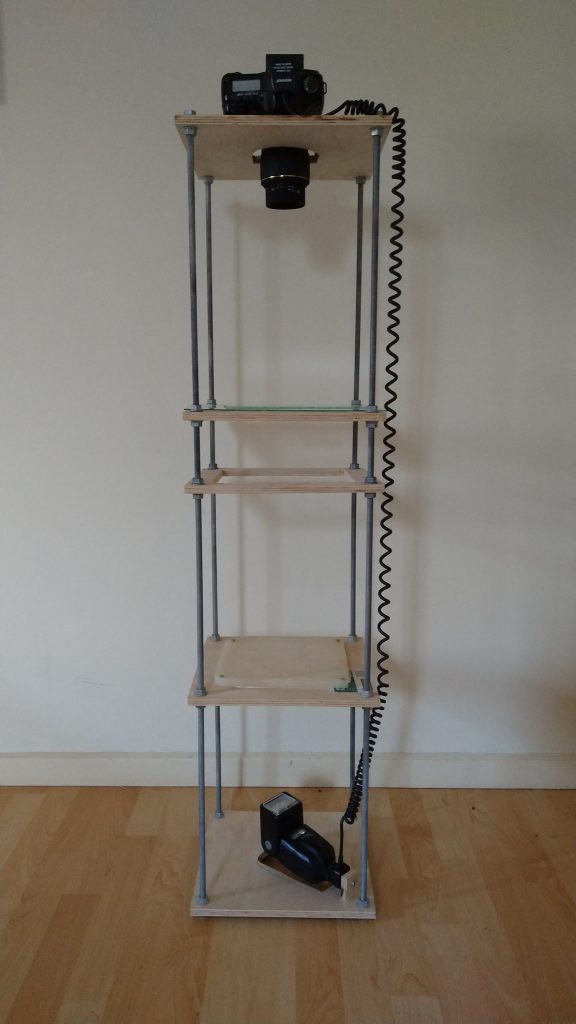
Now it’s just a matter of assembling the tower.
Drive the screws onto the threaded bar to the right level, and use a spirit-level (or measuring tape) to make sure each level is…er….level.
From the bottom up it goes:
Flash -> Diffuser -> Empty Square -> Second Empty Square (Optional – explanation below) -> Camera at the very top.
The reason you might want a second empty square, is if you’re doing a lot of 4″ x 5″ negatives, and a lot of 6 cm x 7 cm negatives, you can have them at the right distance from the camera to maximise how much of the negative there is in the frame.
You’re done! Clamp the negative between the sheets of glass and snap a photo. It will need cropping and inverting, but there are hundreds of ways of skinning that cat, so to the Google Machine for that.