I found lots of posts about developing film at home, but it felt like they left out some details. I’ll, inevitably, also leave things out, but I’m going to have a crack at writing a comprehensive guide to getting as far as having a dry, clean, developed film, and throwing it into a scanner.
Step 1 was gathering all the equipment I needed. It seemed daunting initially, but it turns out that I didn’t actually need that much stuff. Links to products are just as examples, and are close (or exactly) what I’m using.
There’ll also be a short section on what I plan on doing next to make life a bit easier.
I have:
- Changing Bag
- Thermometer
- Developing Tank
- Funnel
- Measuring cylinder (or some way to accurately measure liquids)
- Bottles (600ml or bigger)
- Developing time chart, and temperature compensation chart
- Timer (your phone works perfectly)
- Scissors (not The Good Scissors)
- Developing Chemicals (covered below)
- Running water (hot and cold)
- Clothes pegs, and somewhere to hang the films when you’re done
There are four (three) chemicals: Developer, Stop Bath, Fixer, and a wetting agent (this is optional, but it really helps). I use:
A Paterson Tank needs around 300ml of each chemical per film. The DD-X and Rapid Fixer both need to be diluted 1+4 (1 part concentrate, to 4 parts water). Doing some maths, you get 60ml of concentrate, and 240ml of water, to get to 300ml in total of developer.
The IlfoStop is 1+19, so to make 300ml you need 15ml IlfoStop and 285ml water.
The Photo-Flo is 1+199, so to make 300ml I need a splash of Photo-Flo and the rest in water – this is really not critical. It does, however, get a bit bubbly if you use too much, so I try to go easy on it.
Step 2 – I’ve been out and taken some photographs, and I’m back.
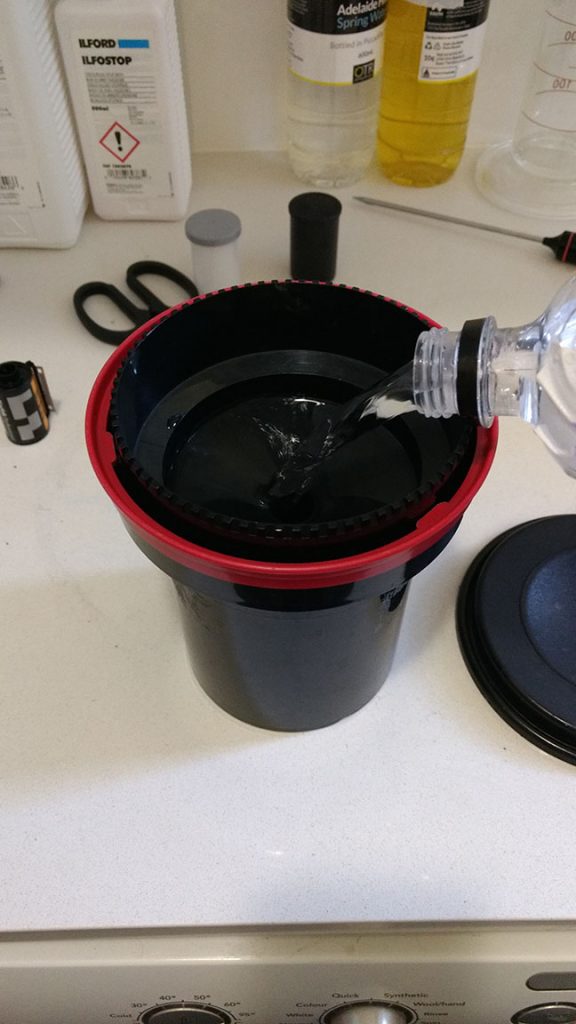
I get water to the right-ish temperature (a bit over 20°C is good) and mix my chemicals with that water and pour from the measuring cylinder into clearly labelled bottles. I then dry my work-space and get ready for the trickiest bit.
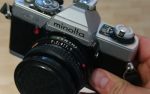
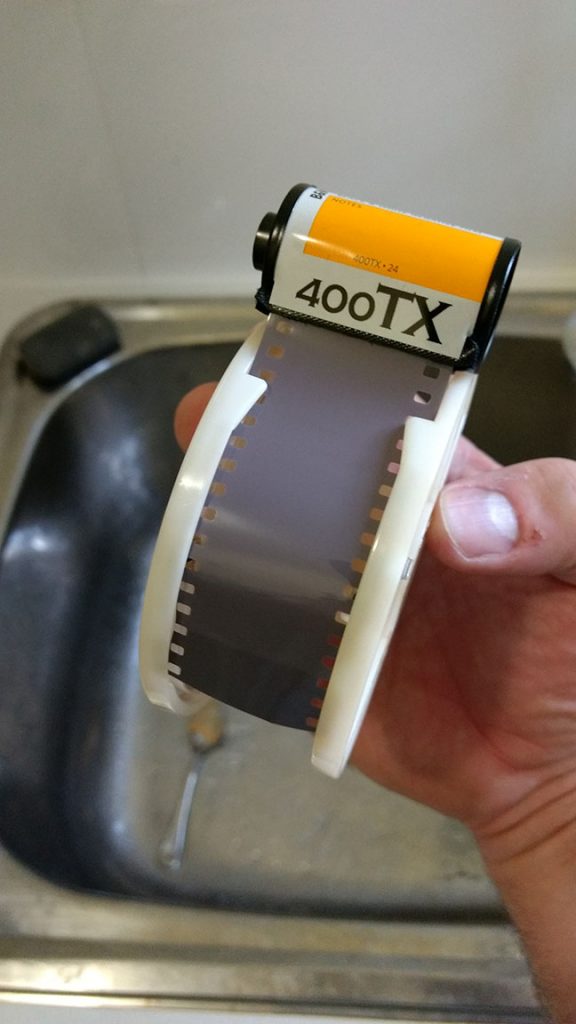
When I rewind your film from the camera, I listen closely to hear when the film has rewound to the point where it’s disconnected from the winder, but hasn’t gone so far that it’s gone all the way back into the cassette. This makes life easier, because I can start it on the spool in daylight.
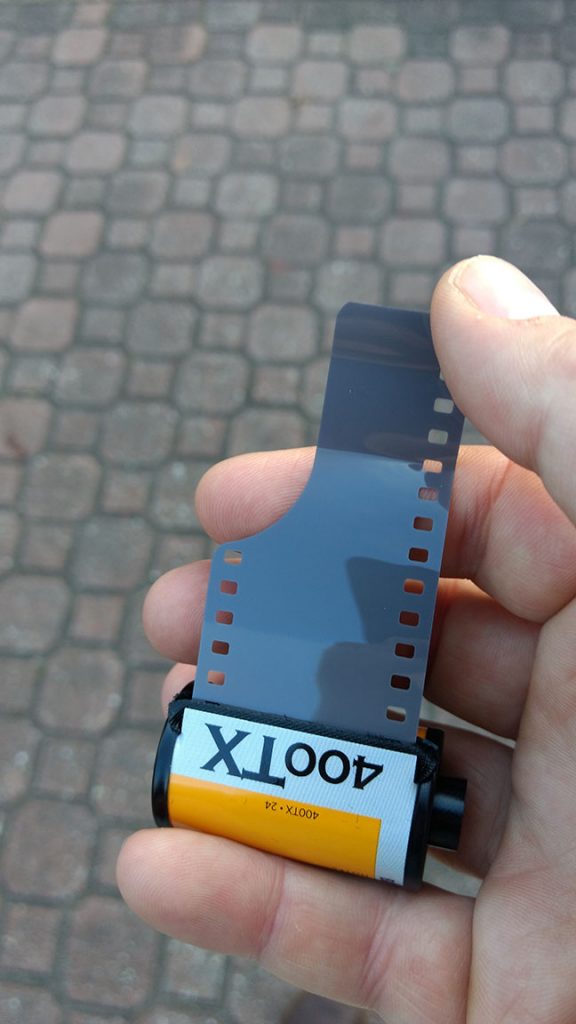
I cut the end bit off the film to square it off, and feed it onto the spool until it’s gone past the ball bearings that are in the reels.
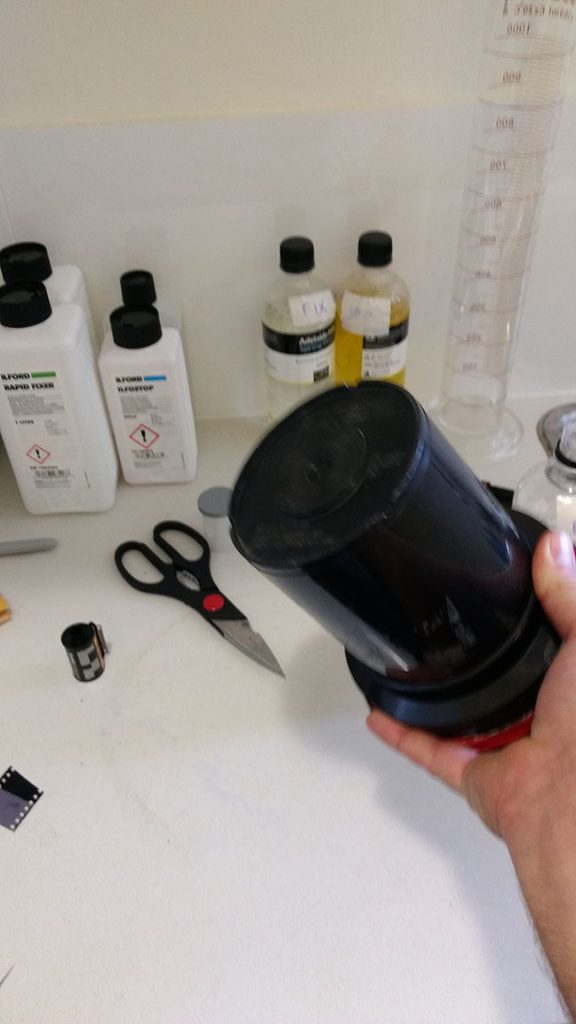
This spool goes into the changing bag together with the centre post, the tank, the tank lid, and your scissors. I’m sure it’s not necessary, but I always have both spools in the tank when I develop, even if it’s just one film in the tank.
Now’s the tricky bit. I stuff my hands into the zipped up changing bag, and find all the bits. I unspool the film from the cassette and onto the spool by turning one side of the spool back and forth, while also unwinding the film from the cassette. When I’ve reached the end, I snip it off with the scissors, wind on the rest of the film so it’s all the way on, and assemble the tank and make sure I lock the lid on properly. I say this, because one time I didn’t, and the lid came off during the developing process and it wasn’t ideal.
Everything comes out of the bag, and it’s time to measure the temperatures of the chemicals. The most important one is the developer – the others are less important.
I’ve been pretty lucky and have managed to hit 19 or 20°C each time, so haven’t needed to compensate too much with the timings. Referring to the developing time chart for the film, I get the time required for developing at 20°C, then use the compensation chart to calculate the actual time required at the actual temperature. Today I did an Ilford HP5+ 400 film, which, at 20°C with Ilford DD-X needs 9 minutes. My DD-X was at at 19°C, so needed 10 minutes with temperature compensation.
The next bit, when I did it the first time, felt quite stressful. It feels like there are a lot of things to do in a short amount of time. I ran the steps through in my head a few times, as practise, and it worked out fine. The hardest part was definitely unspooling the film and getting that done neatly.
I start the timer as I pour the last bit of developer in to the tank. I then put the second lid on the tank and invert the tank 4 times, then gently tap it on the desk once or twice to make sure that any bubbles trapped in the spool come out. Every minute I invert the tank four times, tap the bench with the tank, and spend the next 50 seconds preparing the next step.
I start pouring the developer out in the last 10 seconds of the count-down, and once it’s all out, I pour in the Stop Bath. This only needs to be in for about 30 seconds, but I do make sure I swish it around thoroughly. Then I pour in the fixer which needs to be in for 3-5 minutes. I don’t know how important it is to invert this, but I make sure I do, just to make sure I get nice even coverage with the fixer.
When the time is up with the fixer, I start rinsing the film. I pour water, from the tap, into the top of the tank and let it pour for 5 to 10 minutes. It doesn’t need to flow fast, but I make sure I do a few tank-fulls of clean water first, and then leave the tap running for the 5 to 10 minutes. Then I pour in the Photo-Flo solution, give it a swish about, and pour it out.
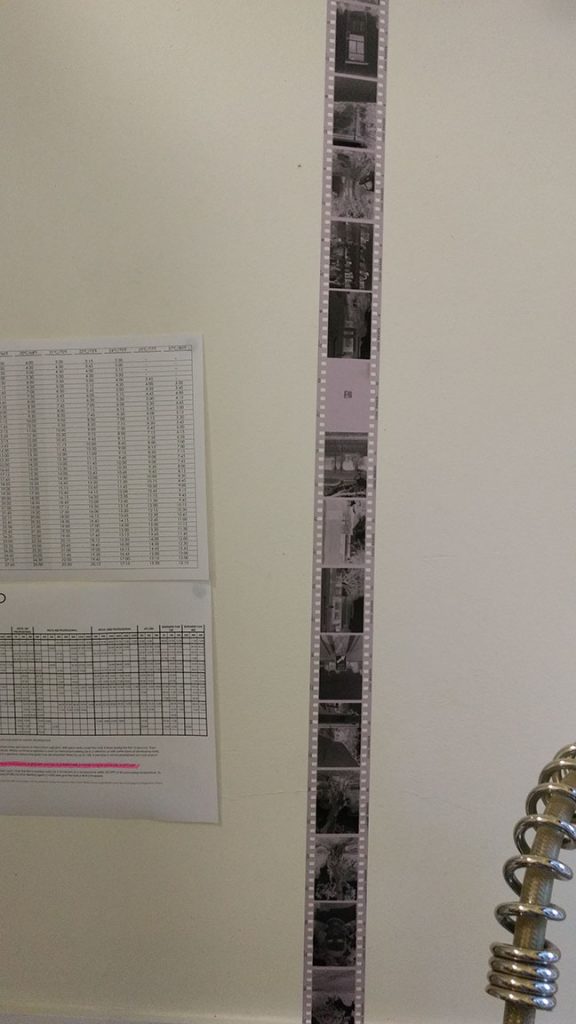
NOW! It’s time! I can open the tank up and inspect the film. I open the spool up to remove the film, and carefully hang the film up to dry, taking care not to touch it until it’s completely dry.
I would really like to get an immersion heater to keep the chemicals at the right temperature – I think that’s going to be my next investment. And maybe a more sensibly sized measuring cylinder.
Once the film is dry, I slice it into groups of 6 frames, and scan them with my Epson Perfection V330 Photo scanner. Making sure the glass is nice and clean. Removing every piece of lint is not easy, and I tell myself that the odd bit of lint adds character. Or something.