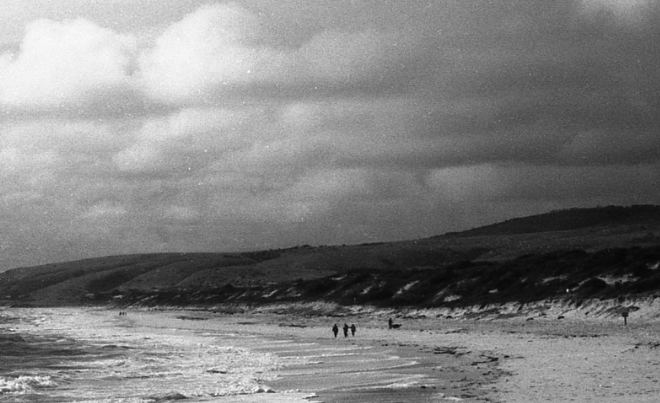
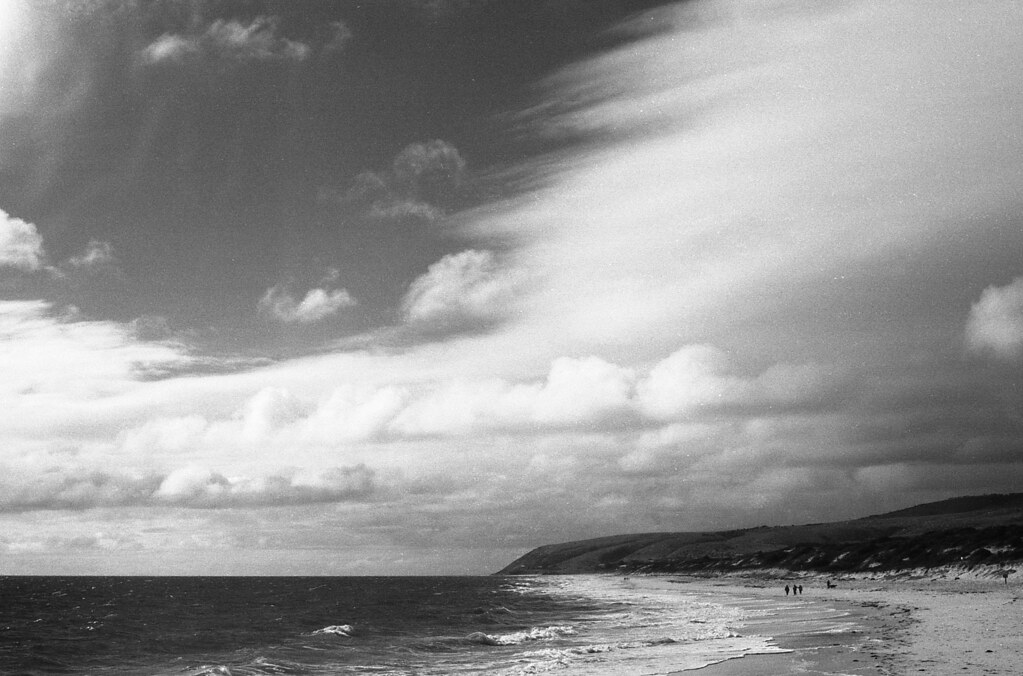
While we were away on our mini-breakette we took many walks along the beach. It was windy, and gorgeous. This is from Normanville.
Shot with Olympus OM-1 with a red filter (25A), on Ilford FP4+ 125, developed in Ilford DD-X at 22°C for 8 minutes. Which is the standard method, just 2°C warmer than normal.
If you would like to flick through my film photographs, they have an album on Flickr.
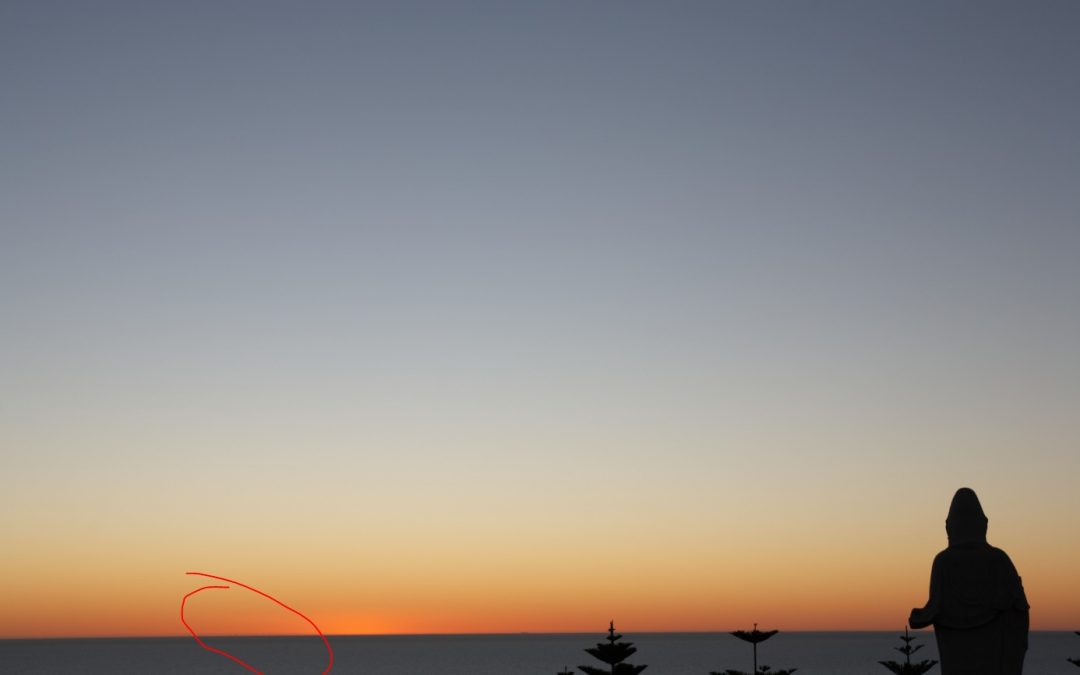
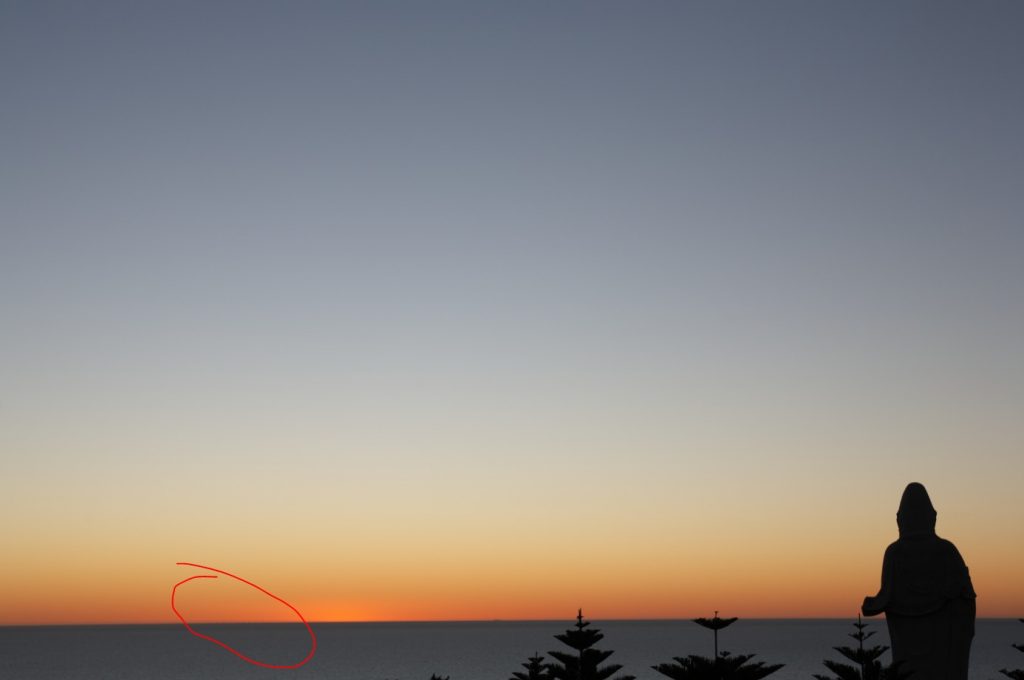
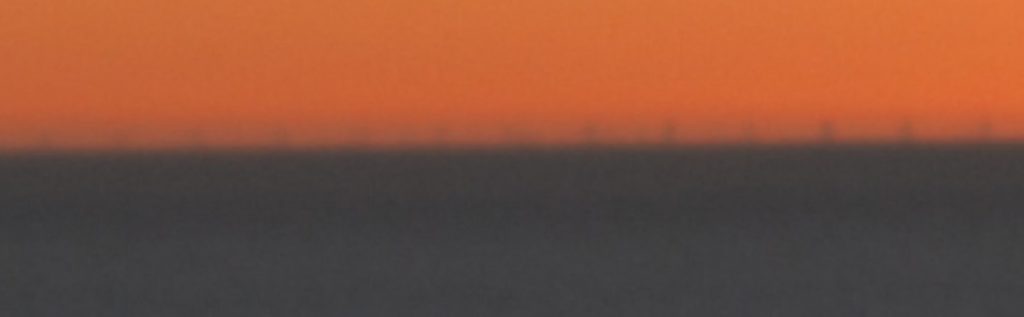
Last weekend we had a little getaway to Sellicks Beach, and at sunset I decided to head up to the Nan Hai Pu Tuo Temple and see if I could catch a nice sunset photo. I didn’t love the locations I could get to easily (there are too many trees in the way), but I did notice that I could see something that looked like a windfarm on the horizon. I didn’t think much more of it at the time other than “that’s pretty far away!”.
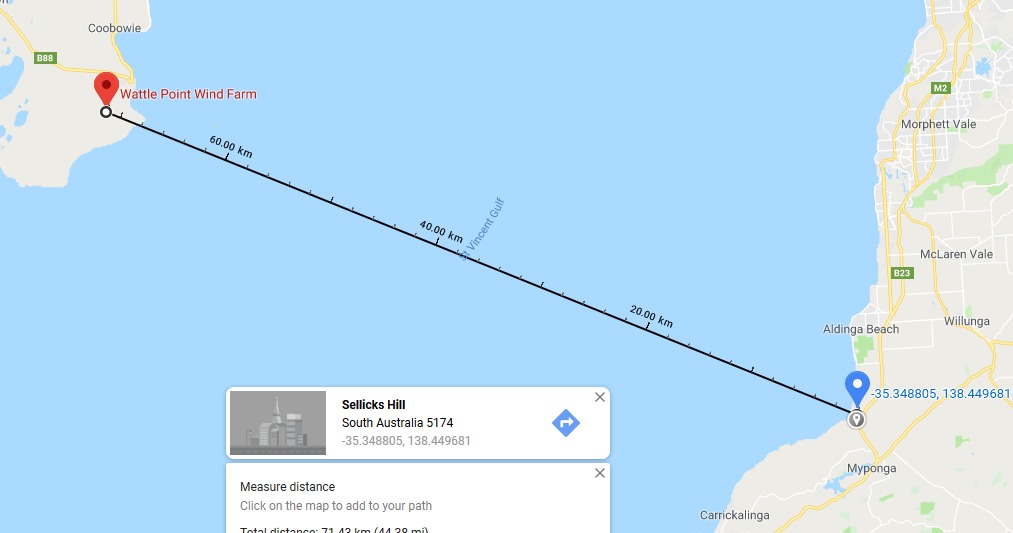
When I was going through my photos from the trip I noticed the turbines again, and decided to check out how far away it was on a map. It’s about 70 km away. I did a quick search for a distance-to-the-horizon-calculator, and to have been able to see 70 km, I would have needed to be at about 400 metres above sea level. The point I was photographing is definitely not 400 mASL.
I fired off some pictures to friends, quipping that it was proof that the earth was flat – how else would I be able to see that far. What I was actually thinking (and actually tweeted) is “How good is refraction!“.
Then I wanted to know how far that refraction was bending the light, so that I could see the windfarm from behind the horizon, so I decided to sit down to do a bit of maths (hence the title of this post, and also the title of my new category).
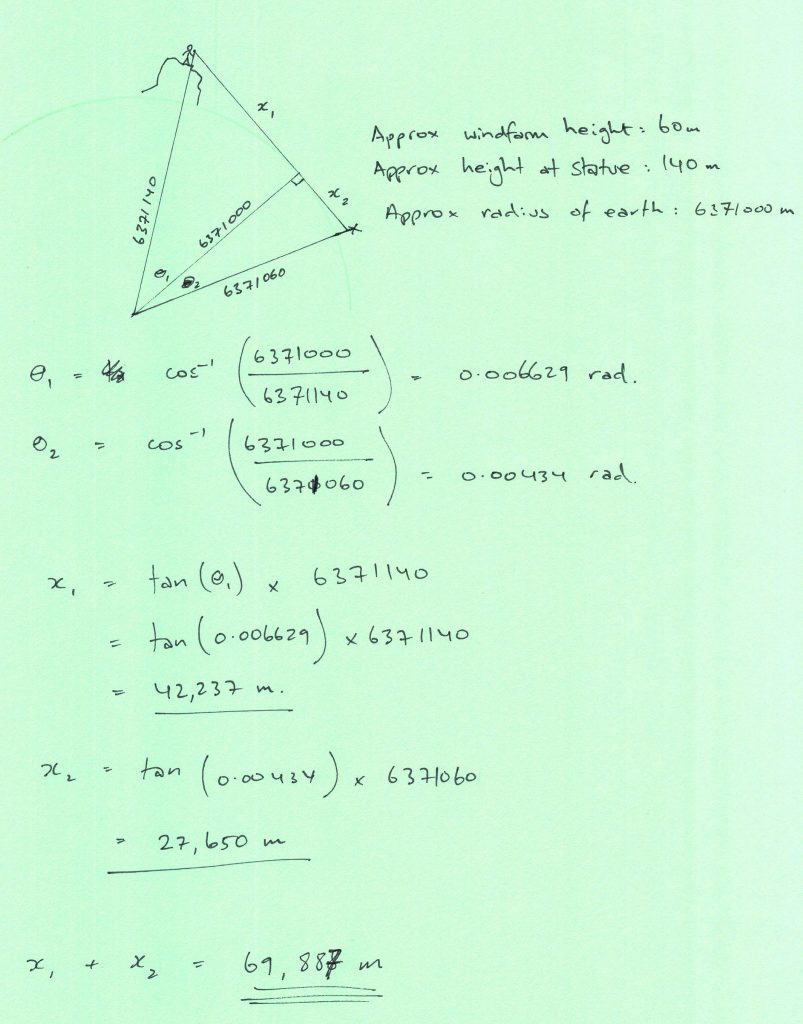
I looked up the approximate radius of our fair Earth. It’s 6,371 km. Then I used this site to look up the approximate elevations of the Buddha and the windfarm. The ground at the windfarm is at around 20 metres. The Buddha is at about 140 metres. I figured a turbine was about 60 metres tall, and it looked like I could see about two thirds of them in the photo (remember – this is all a bit approximate and back-of-an-envelope), so I figured that 60 metres was a good approximation for the height of the windfarm end.
From there it was on to trigonometry, and I won’t type all that up here. Instead, here is the slightly messy calculation.
69.9 km!
The calculation of 400 metres elevation to see 70 km is assuming you’re looking at the ground at that height – basically assuming that you’re only calculating for x1.
South Australia’s main body of fresh (yet murky, and sometimes gross) water is the Murray River. The Murray starts in the Australian Alps, and heads towards the South Australian border. Along the way it meets its main tributary, the Darling River. Then it gets to South Australia, heads west towards Morgan, then south to Lake Alexandrina where it pops out into the ocean.
A primary trait of the Murray River is that it’s a slow moving river with several locks along the way controlling the flow.
There is nothing exciting about the Murray on the surface. No waterfalls. No rapids. So it feels a bit unexpected, and quite exhilarating, finding a waterway in South Australia with a decent waterfall on it.
Waterfall Gully and Morialta National Park both have some pretty waterfalls. They are also hugely popular with walkers, and even Third Falls at Morialta, which takes a bit more effort to get to than Second Falls, is quite busy at times.
We started to hunt for more out of the way waterfalls to visit, and here are the top three so far.
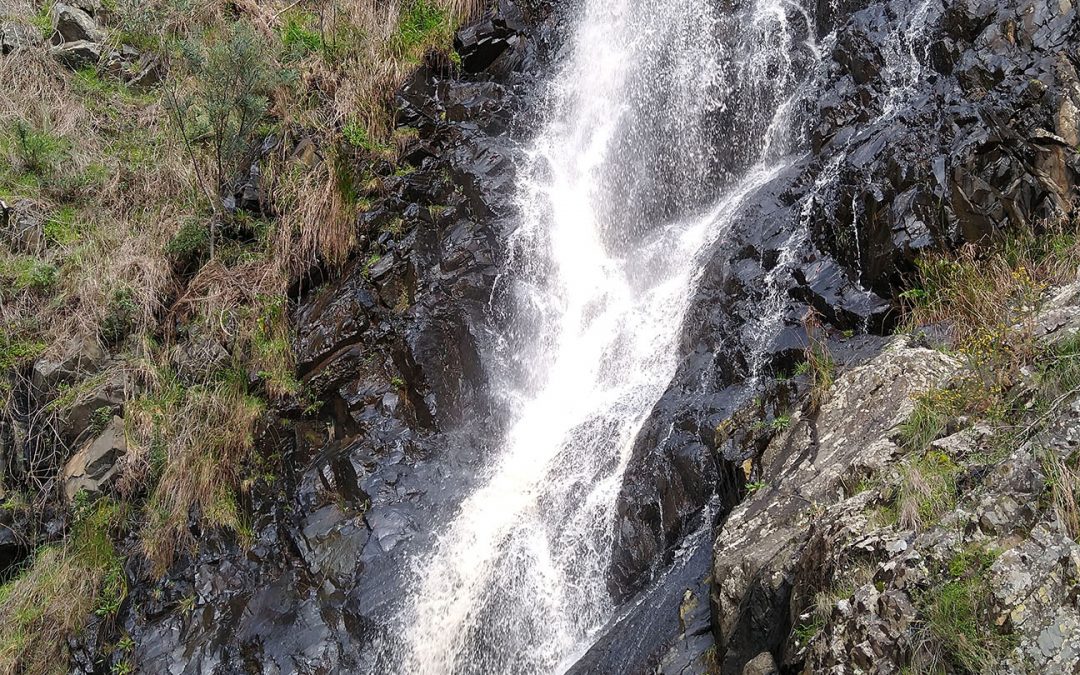
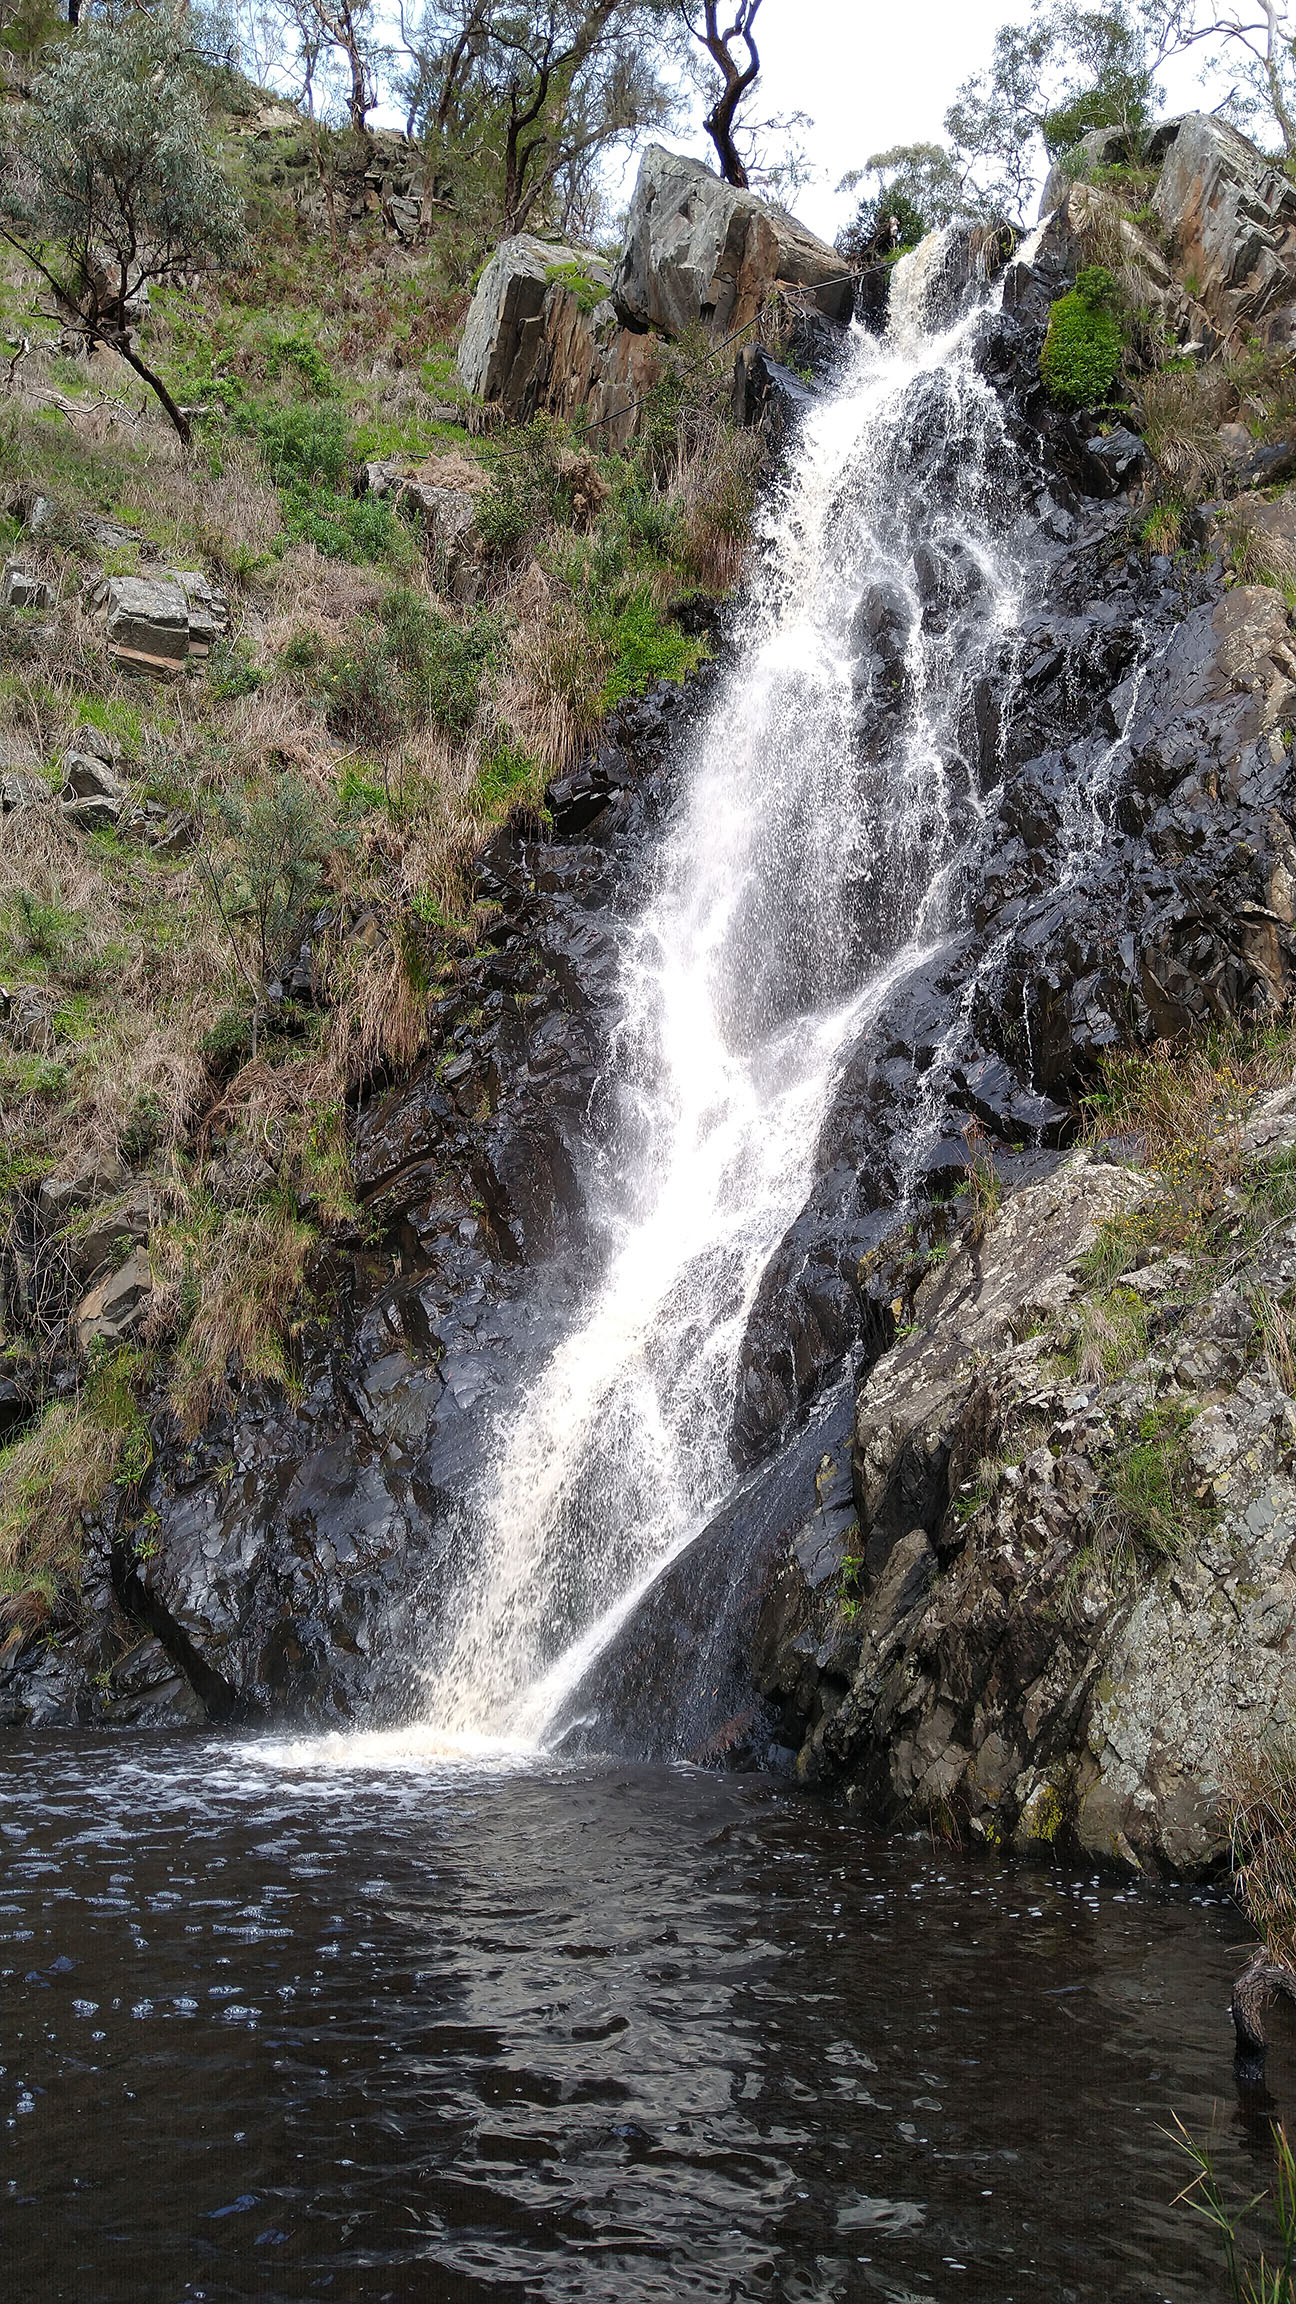
#1 – Ingalalla Falls
You don’t need to go far by foot to get to this watefall, but getting to the top of the lower falls is a muddy exercise. Bring some sturdy shoes, and maybe a change of pants, and enjoy the clamber.
Ingalalla Falls
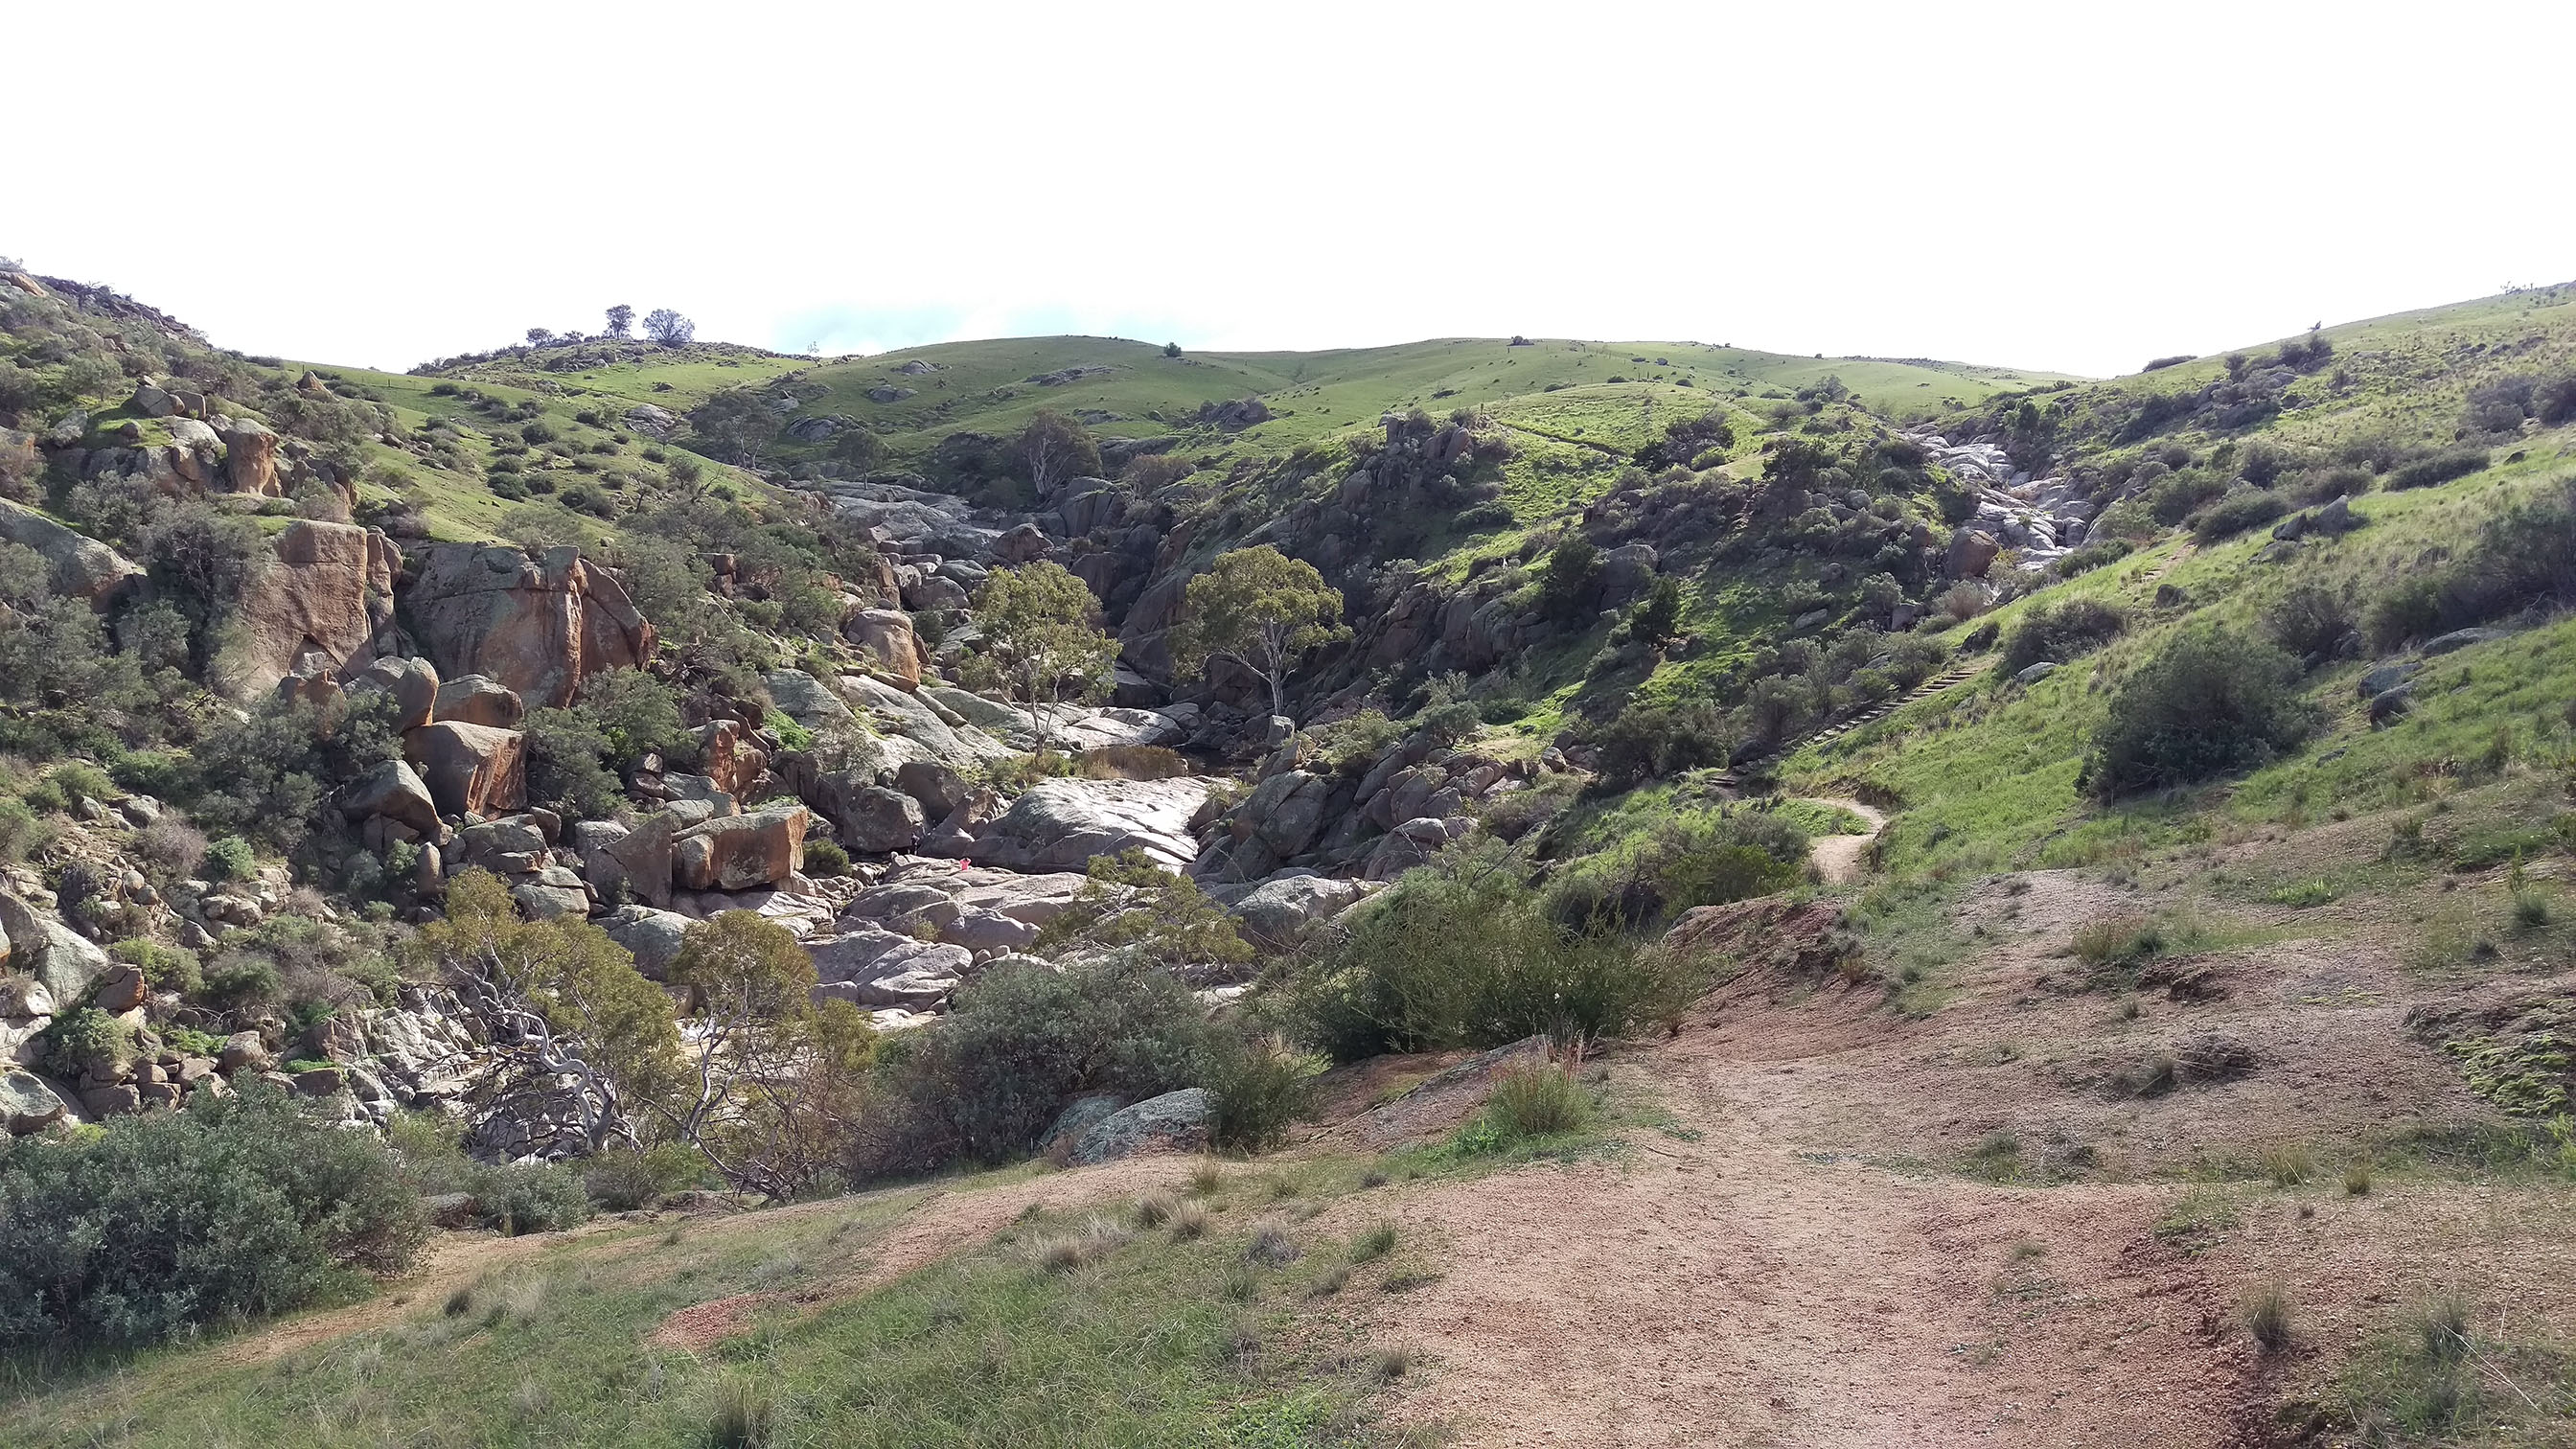
#2 – Mannum Falls
Mannum Falls covers a huge area, and while it’s possible to drive to the upper carpark, I would recommend going to the lower carpark and walking in to the main falls. I’ve never seen Mannum Falls with a lot of water flowing, but if you time it right, you might find it flowing well!
Mannum Falls
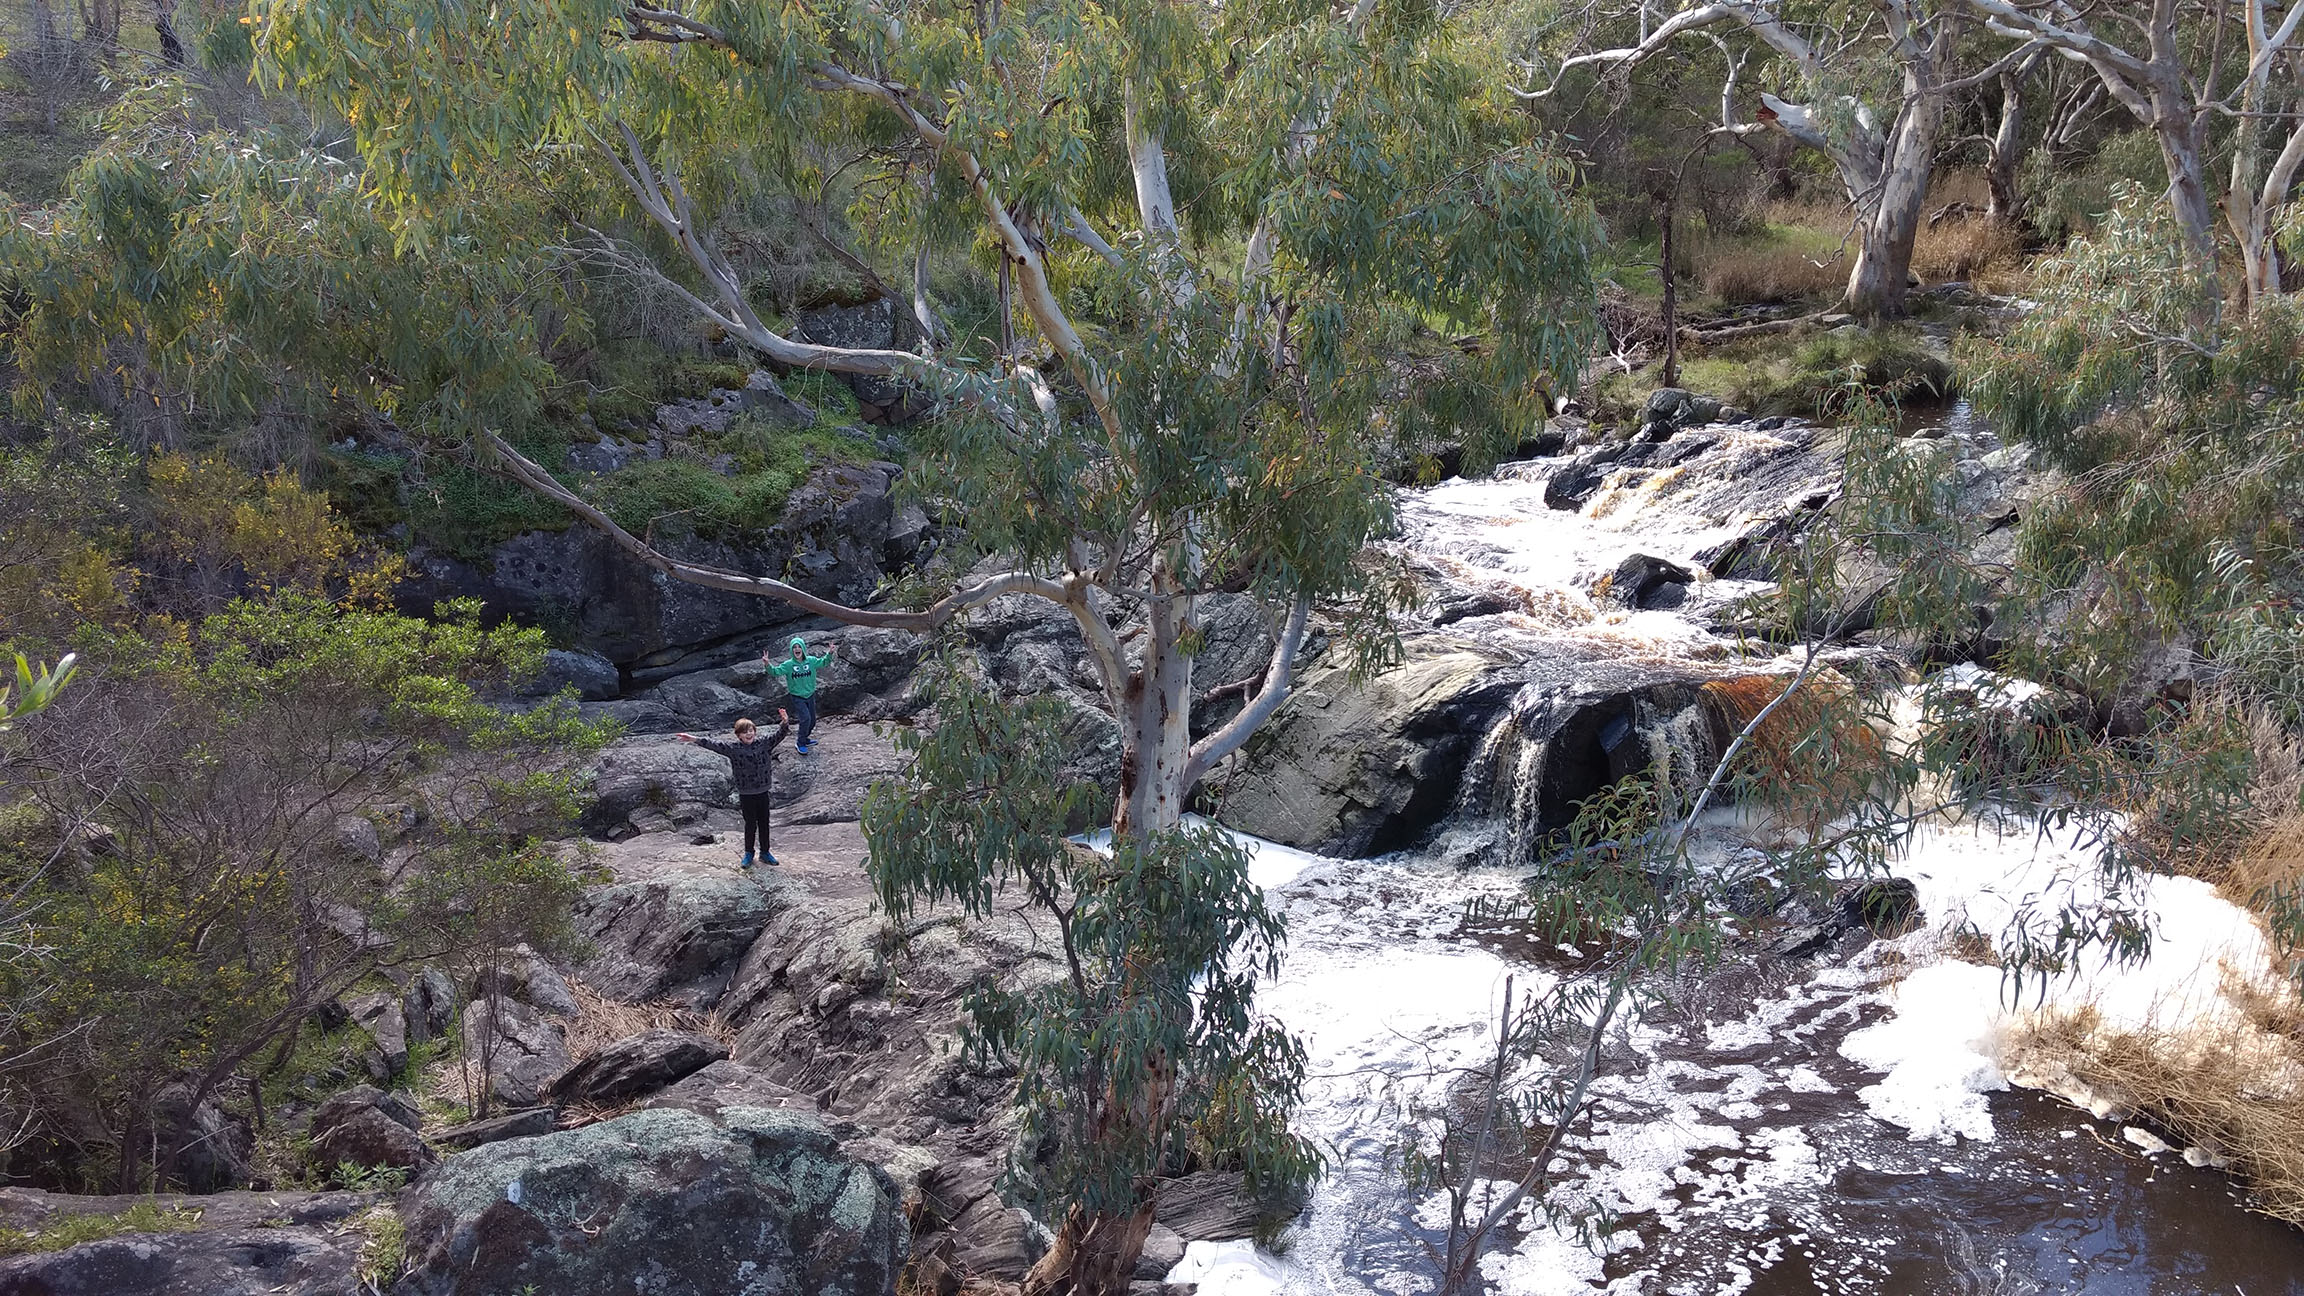
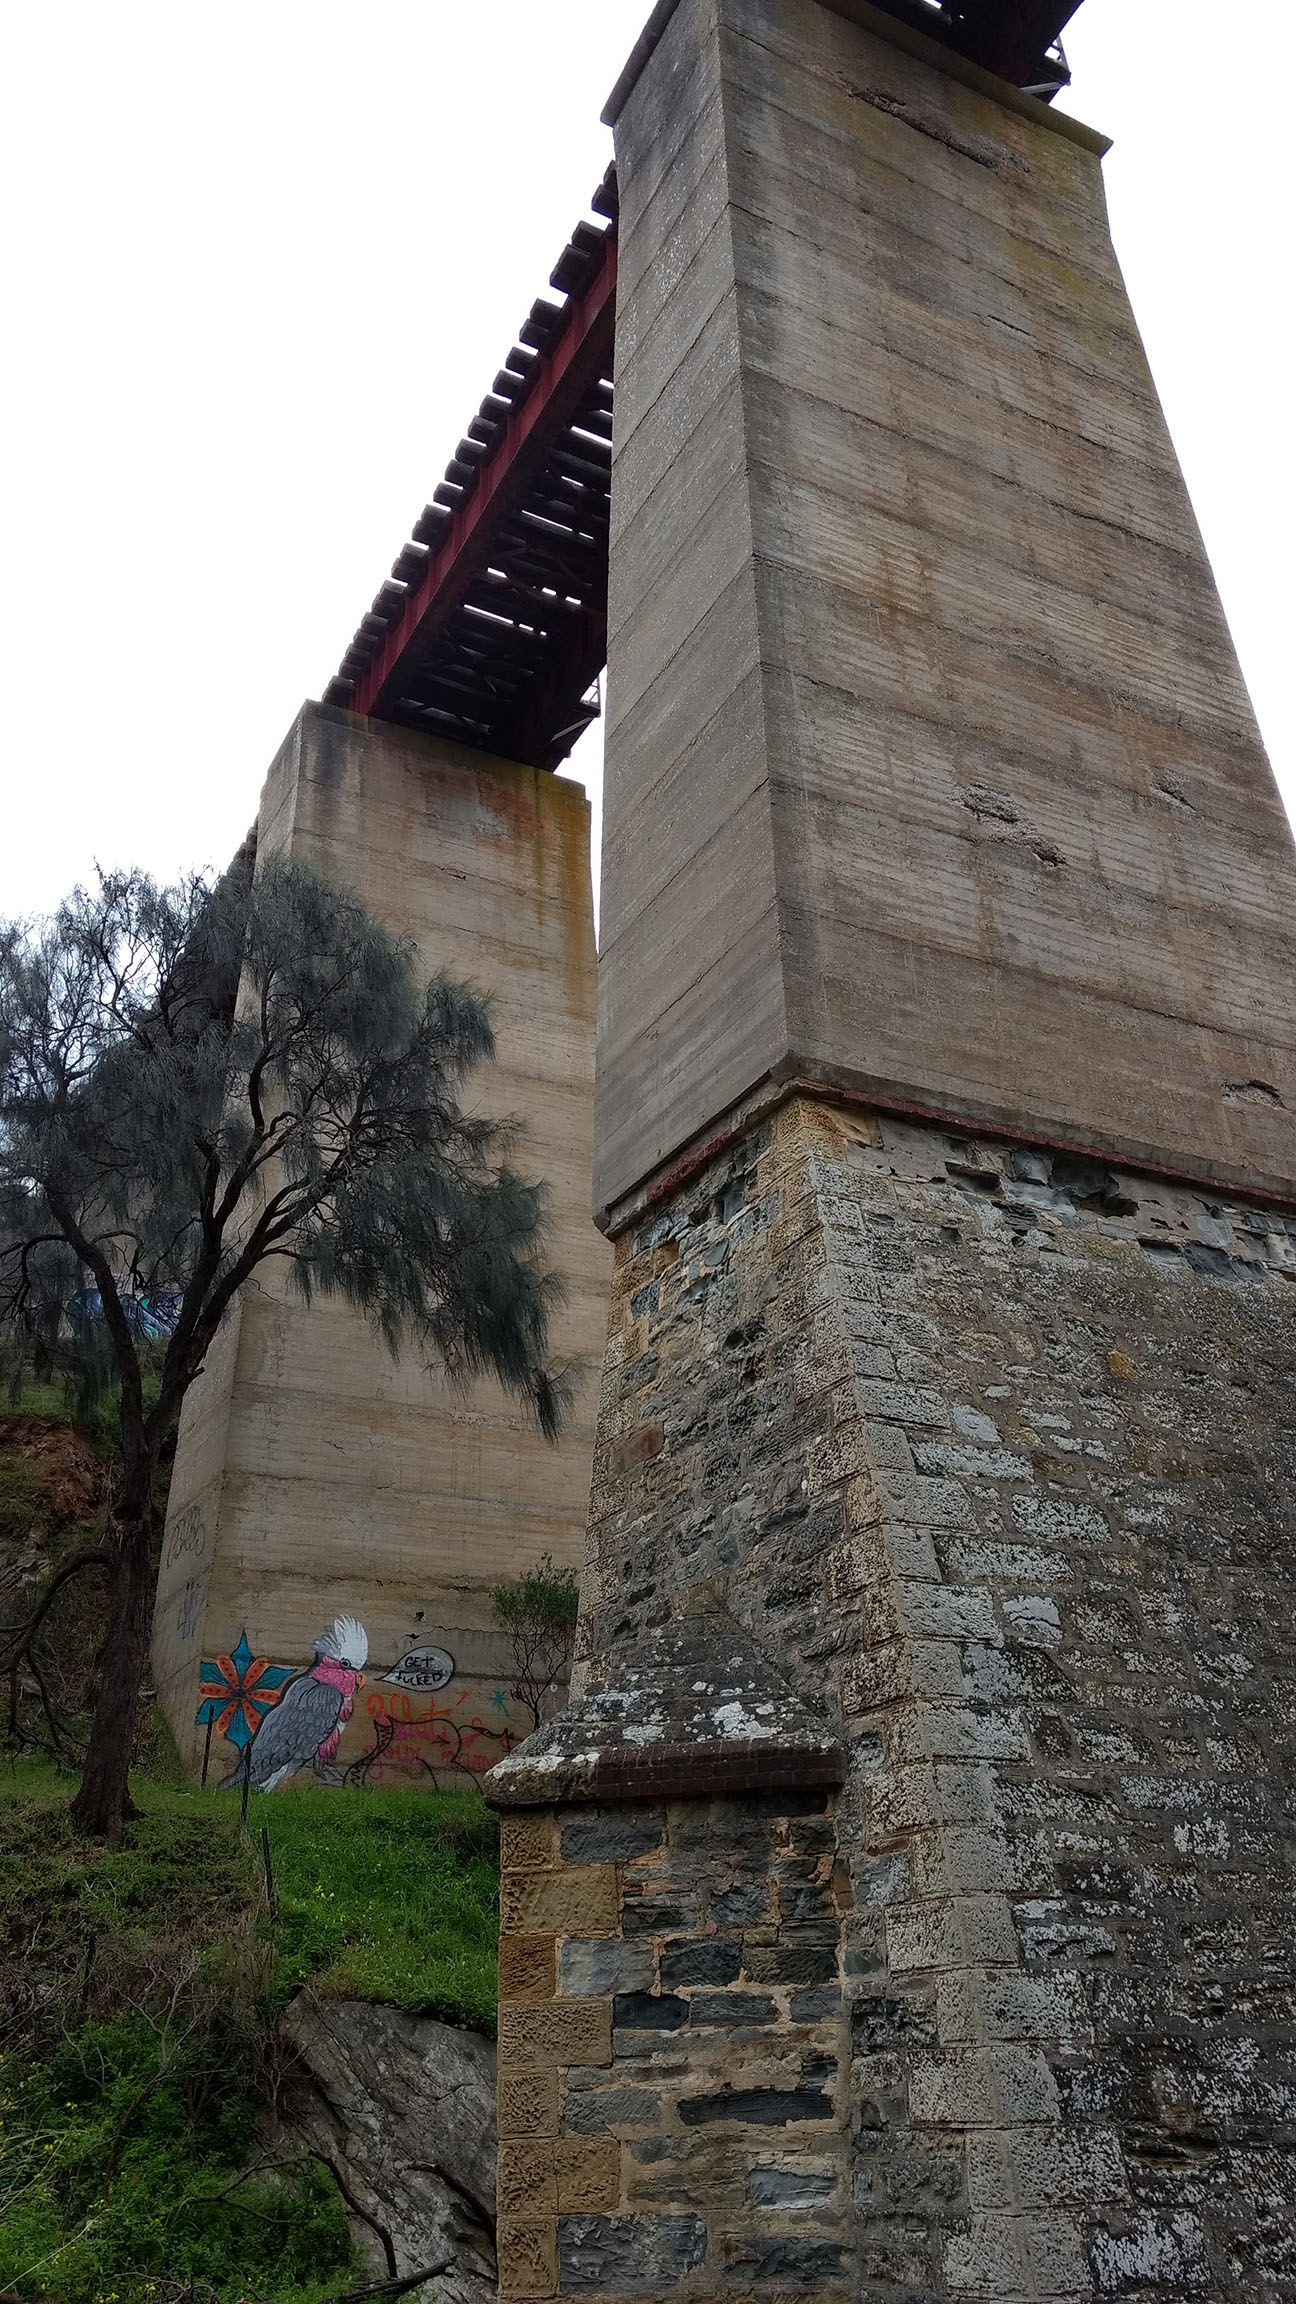
#3 – Currency Creek Waterfalls
The short walk to the Currency Creek Waterfalls takes you under a rickety old railway bridge, featuring a rude galah. The falls don’t have a lot of vertical in them, but they do have a certain beauty to them.
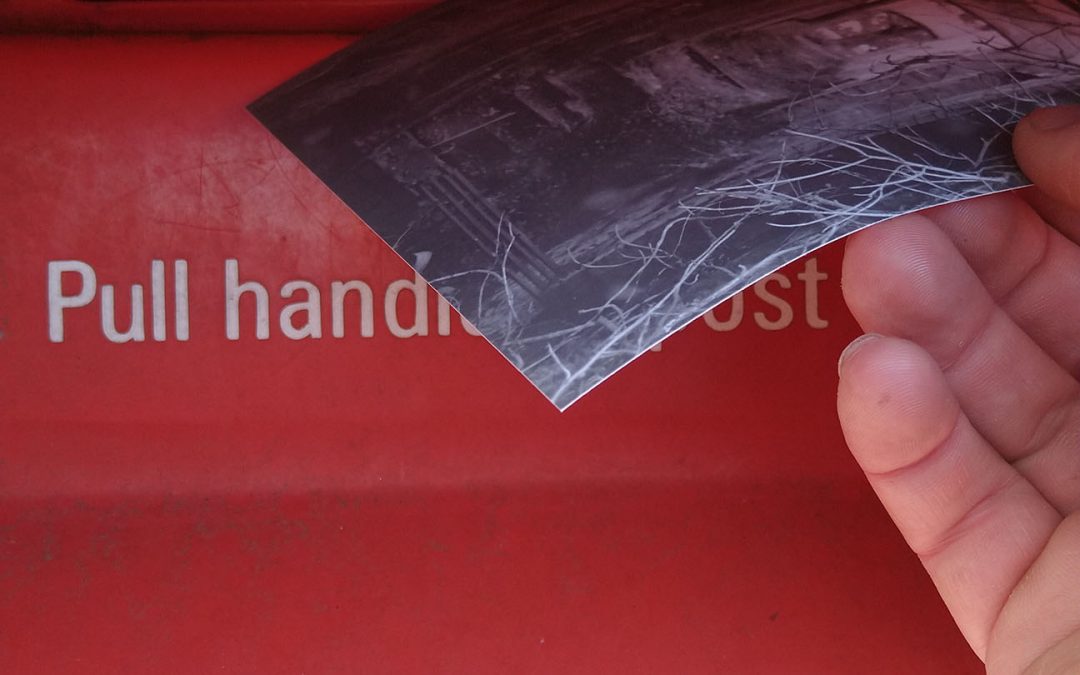
That might be a bit dramatic. It’s definitely an exaggeration. But look! It looks like I’m about to get one back!
I’ve created a map of all the destinations that I’ve sent #tardigram postcards to. Looks like I might have to create one for where I’ve got them from, too.
Lovely!
To reiterate, if you would like to receive a photograph, lovingly photographed, developed, and wet-printed in the post, get to me your postal address and I shall make it so!
It’s 10:43. I’m in Adelaide, sitting in my office. I can hear muffled traffic noise, Dawn of Midi playing on Spotify, my keyboard, and my colleagues keyboard. It’s cloudy, and there’s moisture on the ground. But all in all, days are getting longer.
I saw Fernando Gros talk about it on Twitter a while ago, and I liked the concept, and I decided I should do it as often as I remembered to. I didn’t realise that it’d be this long between rememberings. But here we are, 344 days later, and it popped into my mind again.
I’m not sure if it’s a mindfulness exercise, or just an exercise in paying attention to your surroundings, but either way I think it’s an excellent idea to spend a few minutes thinking about what your senses are doing. What they’re telling you. What you’re telling them.
So, anyway here goes:
It’s 00:30, and it’s far too late. I’m at my desk, in my home office. I’ve got an acoustic album by, the usually loud, Strung Out, playing. I can barely hear my keyboard over the music, but the rest of the house is completely quiet. It’s pitch black outside, aside from a lonely light under the neighbour’s verandah.